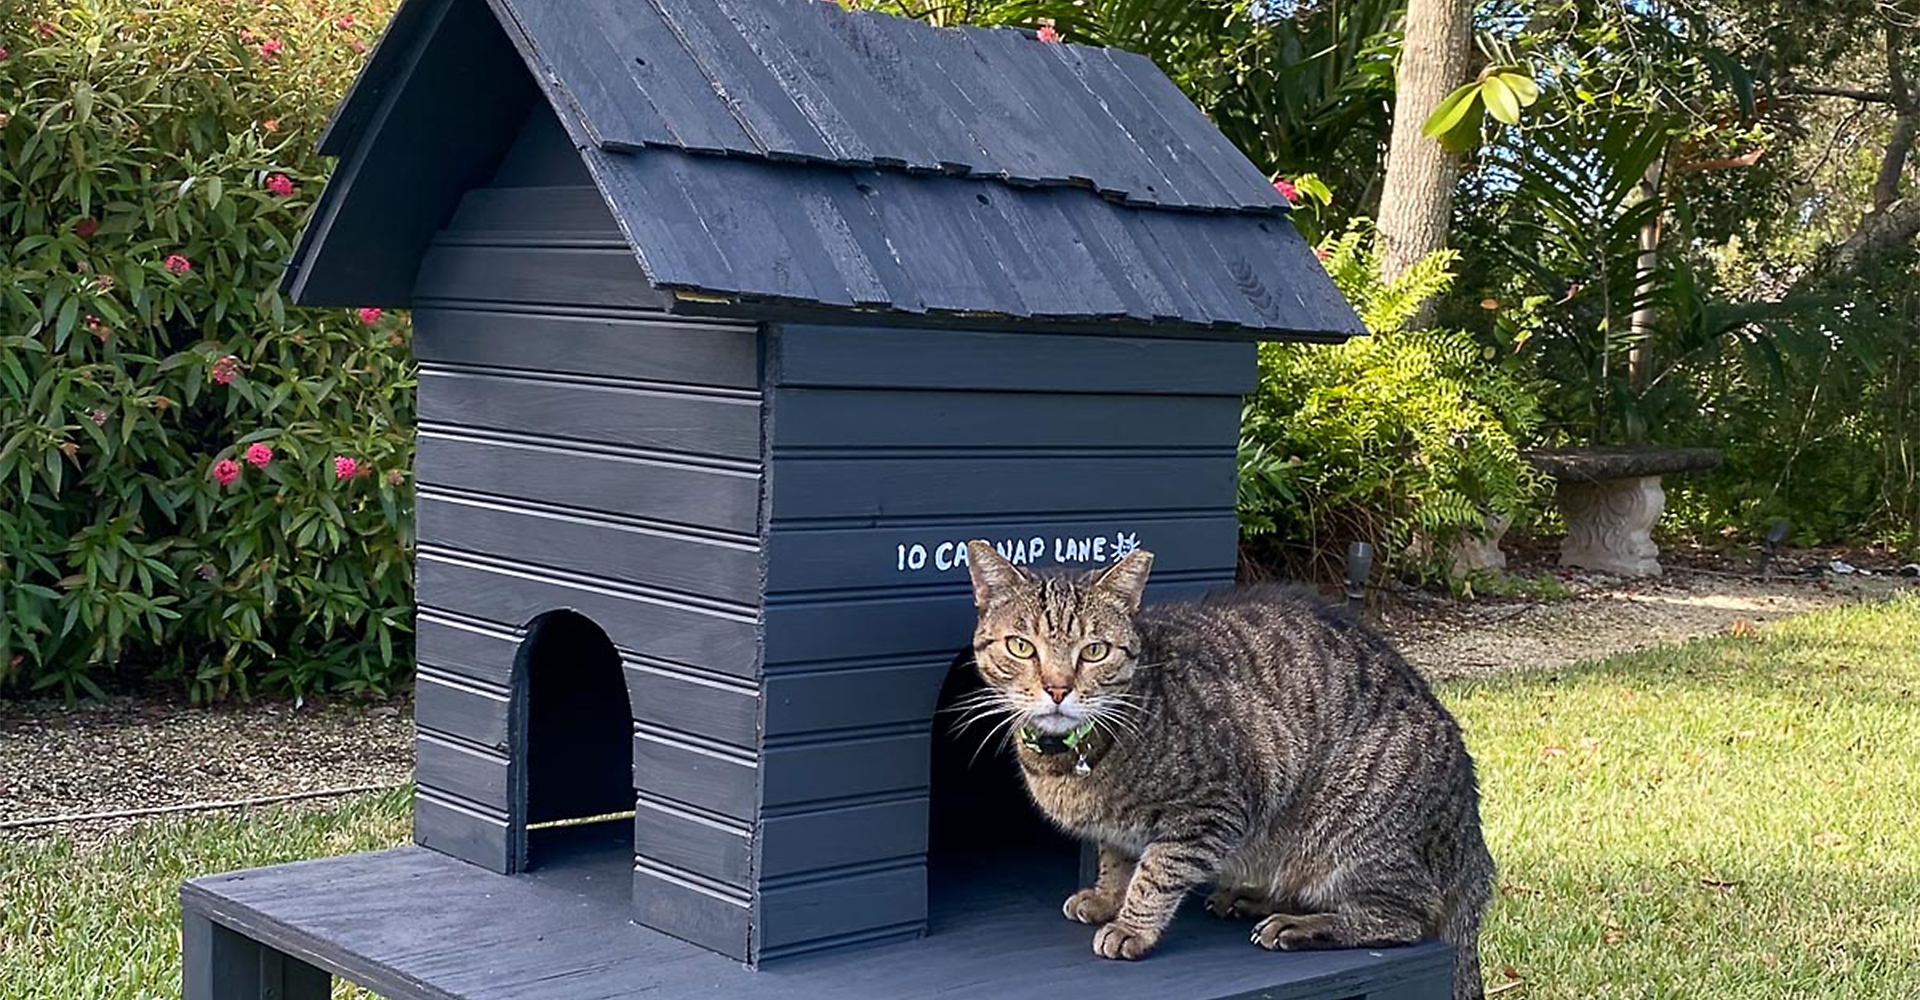

Outdoor Cat House Shelter Tutorial
This outdoor cat house will help your outdoor cat stay dry, warm and cozy. Build this wood cat shelter and give your feline friend a place to call home!
-
Difficulty:Intermediate
-
Team:1-2
-
Time:Over 6 Hours
Tools
-
Box Saw
-
Pencil
-
Ruler
-
Safety Goggles
-
Screw Drivers
-
Screws
-
Tape Measure


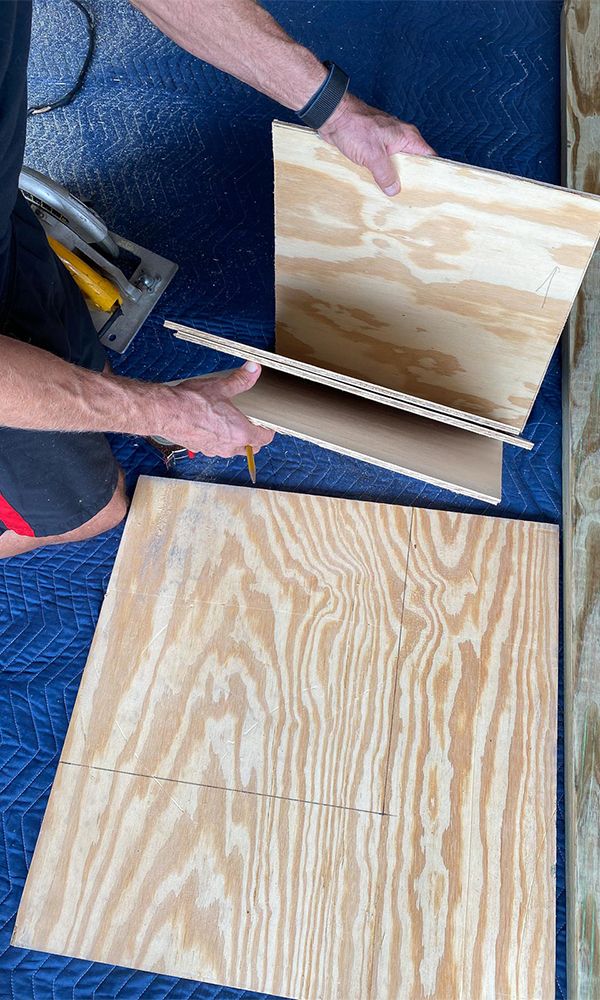
Measure and Cut
Measure and cut four pieces of plywood with a circular saw to be 16″ square each from the 1/2 sheet of 3/8″ plywood. A level is handy to ensure straight cuts!
Cut
Cut four 1″ x 2″ pieces of wood from the 8′ piece to measure 16″ long and two 13″ long each using a circular saw. Cut two triangles with each measuring 16″ long x 8″ high out of the 3/4″ plywood.
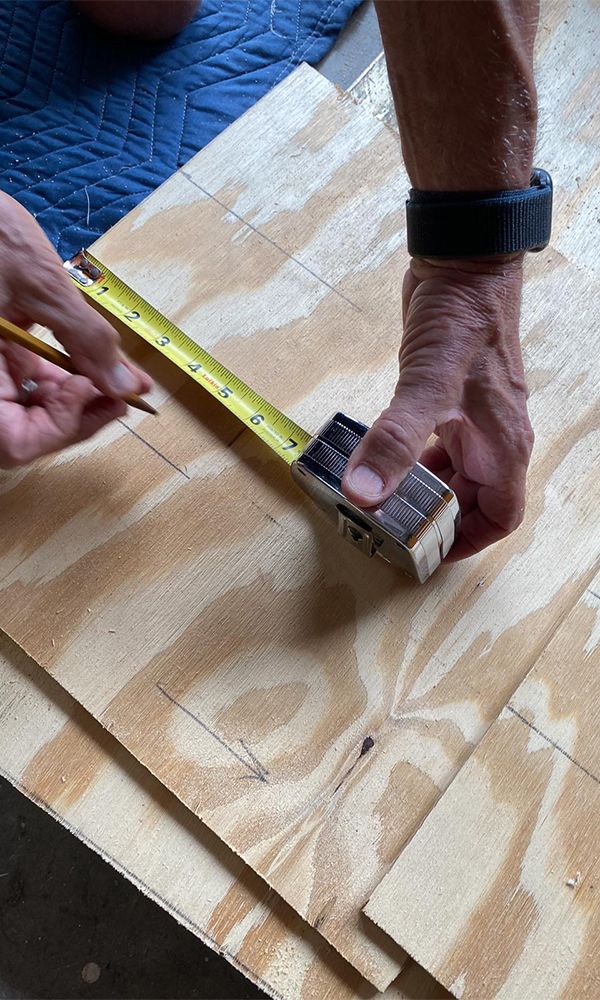
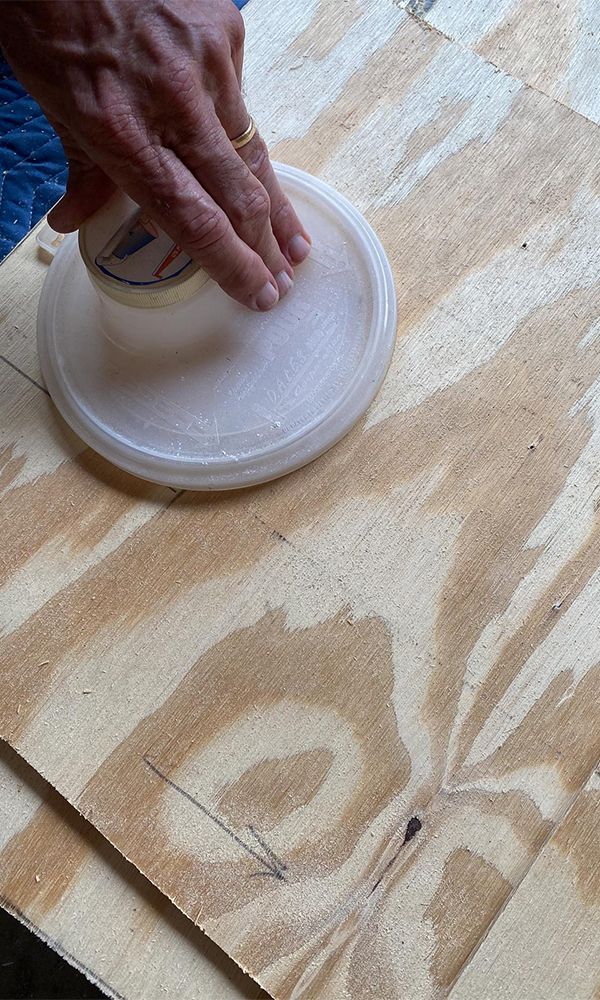
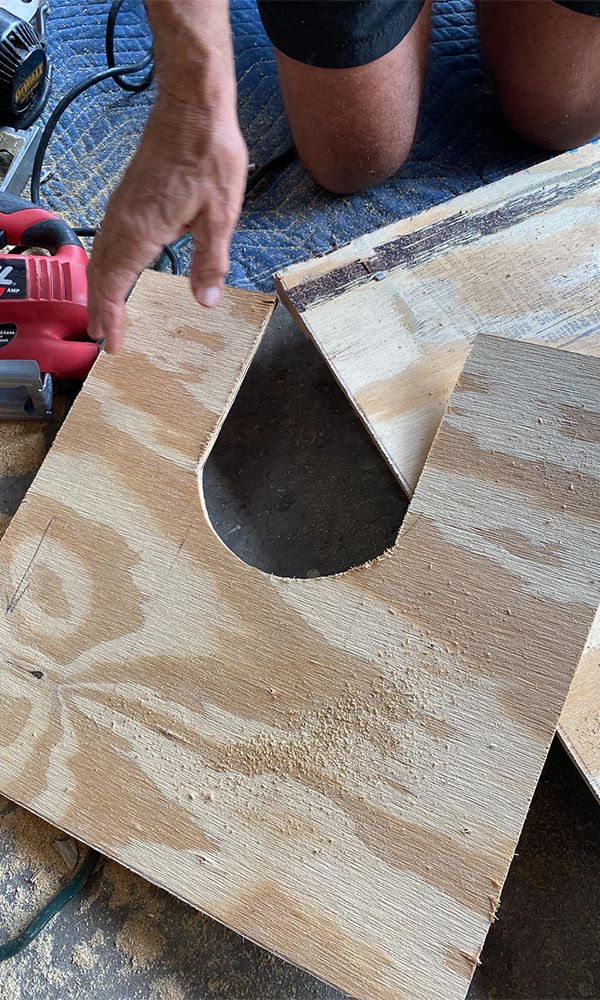
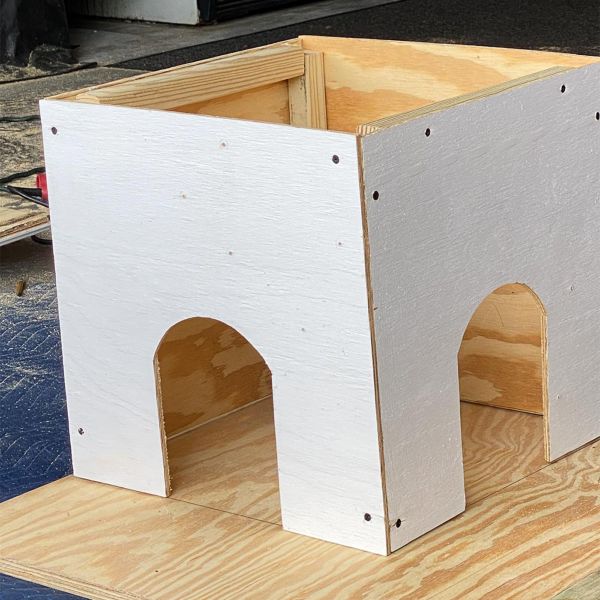
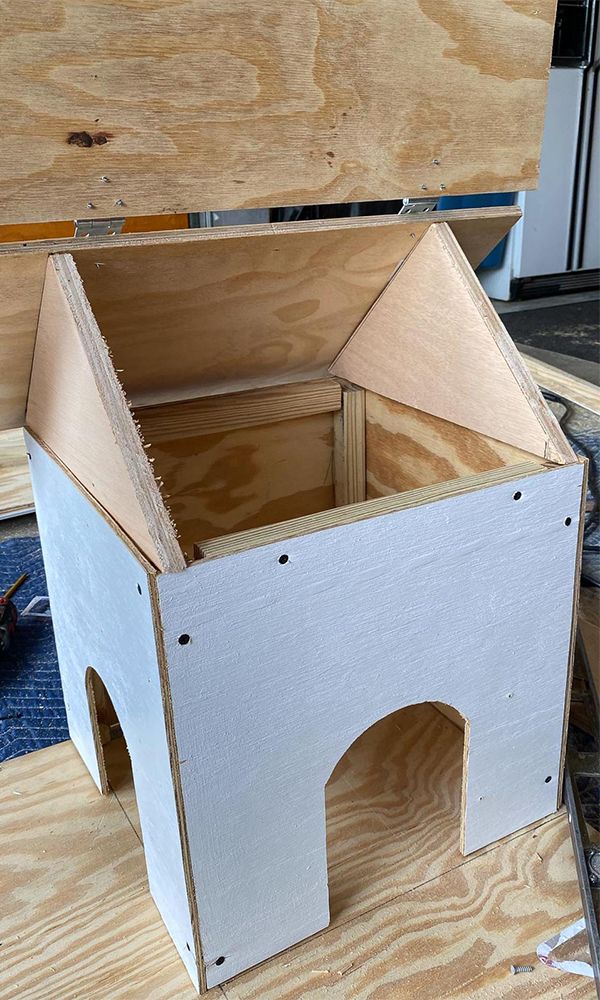
Cut an Opening
In this step you’ll be cutting an opening from two of the 16” squares (that you’ve already cut) for your cat to have egress. Each opening should be at least 6″ wide x 8″ tall. Use a carpenter’s square for marking angles and a paint can lid (or plate) to round off the top. After marking, cut each opening using a circular saw for the straight edges and a jigsaw for the rounded portion.
If you plan on adding a heating pad, notch out a space on the back of the cat shelter for the electrical cord.
Attach
Take two pieces of the 16″ square plywood and attach 1″ x 2″ sixteen inch long pieces to two sides. These will create backing for the inside corners.
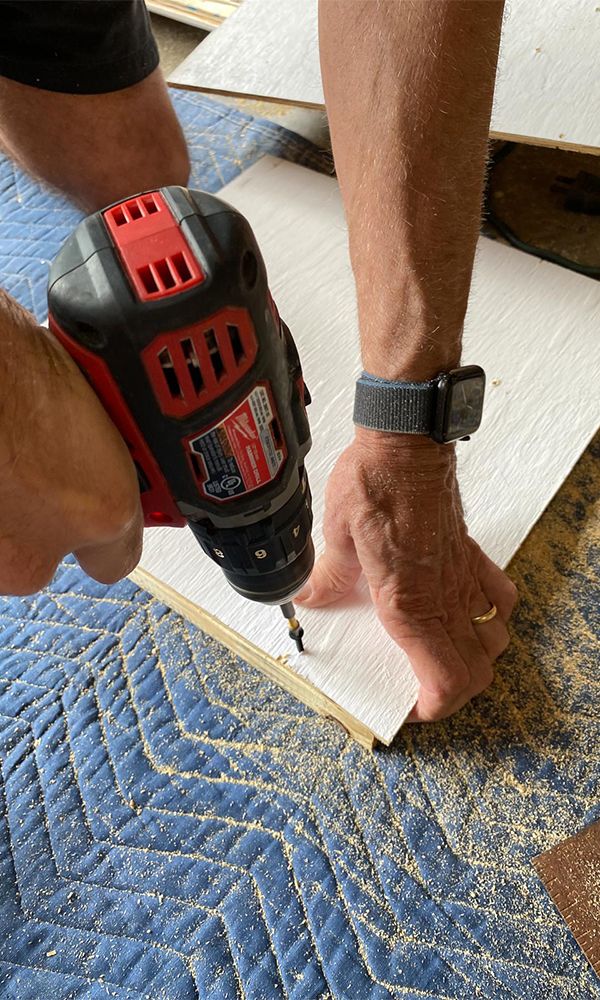
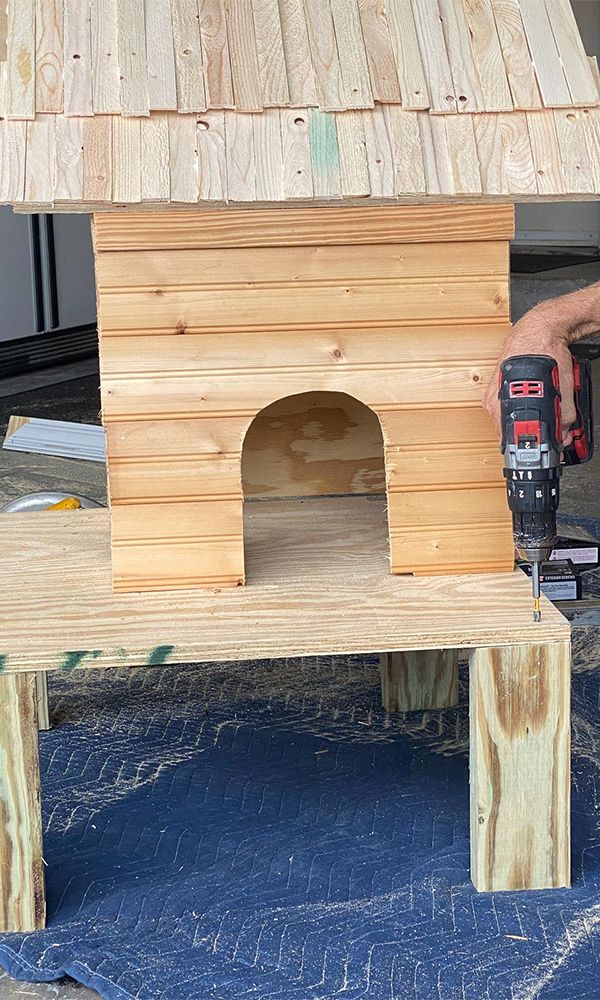
Screw
Screw one piece of 1″ x 2″ by 13″ across to make what will be the inside of the top of the cat house box.
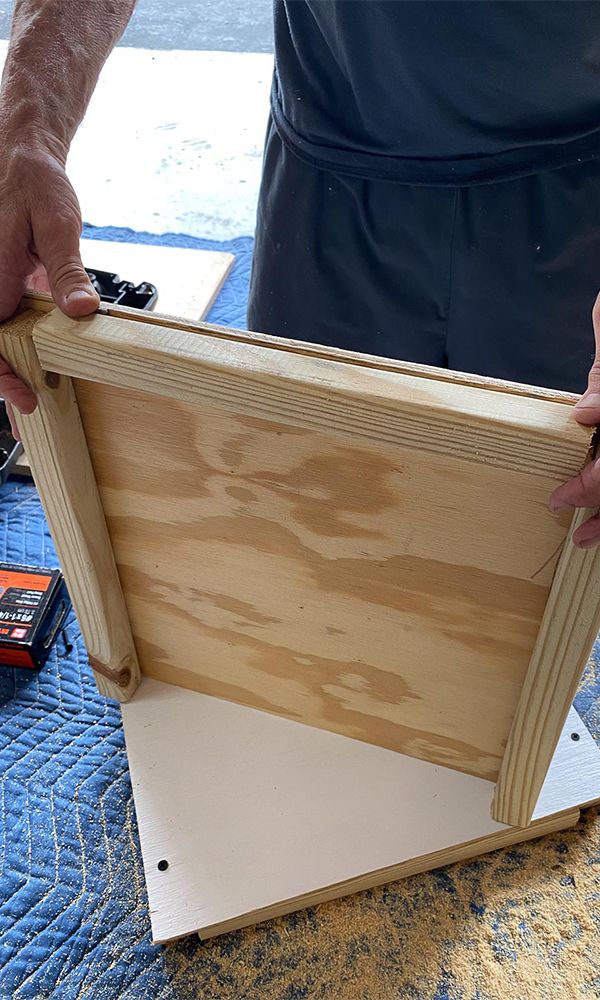
Construct the Box
Construct the box by taking two pieces of the sides and screwing them together using 1 1/4″ screws. Repeat the process to make the other side. Attach these together to make the box.
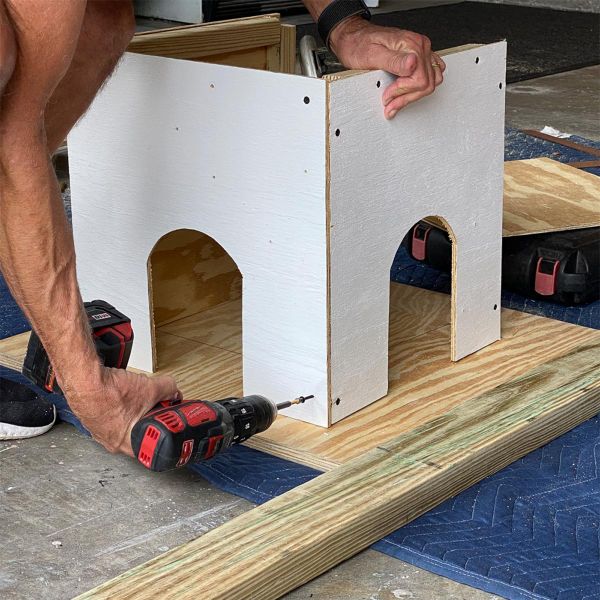
Place
Using the 2′ x 2′ 3/4″ piece of plywood, decide where you’d like to place the box on what will become the platform of the shelter.
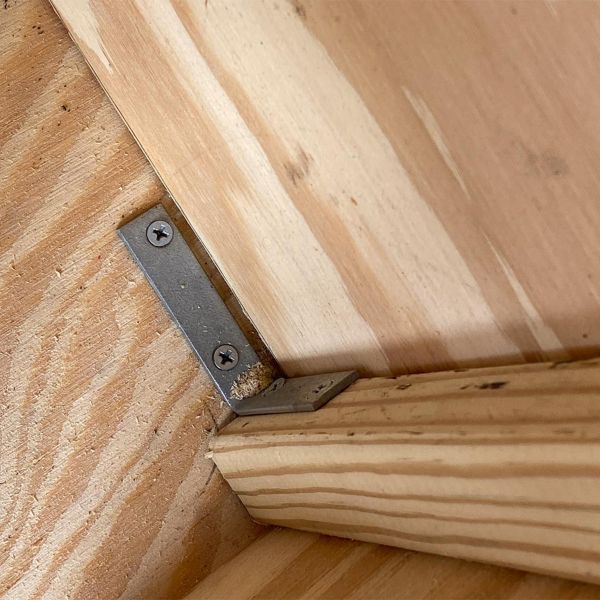
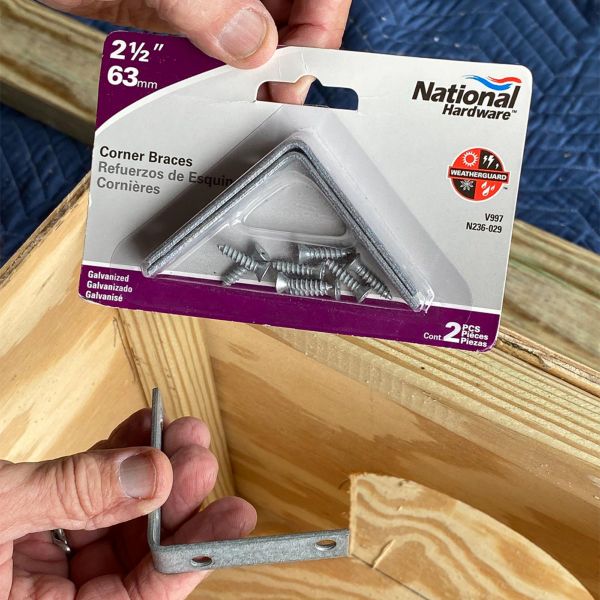
Attach
With a screw gun, attach four of the National Hardware 2 1/2″ Corner Braces to attach the sides of the box to the platform on the inside.
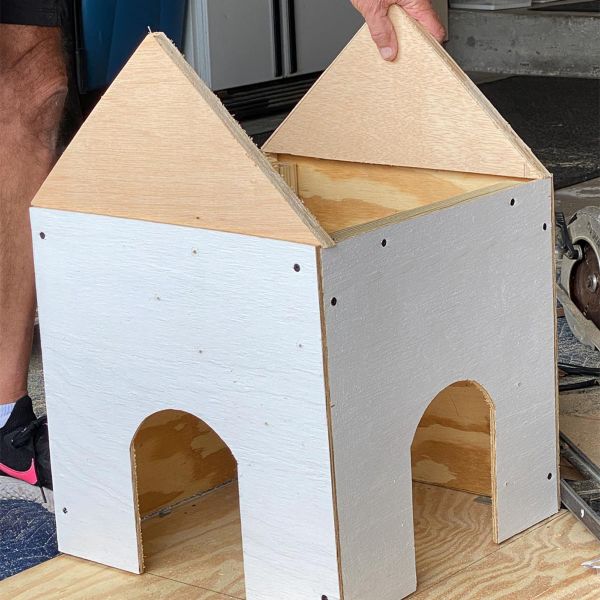
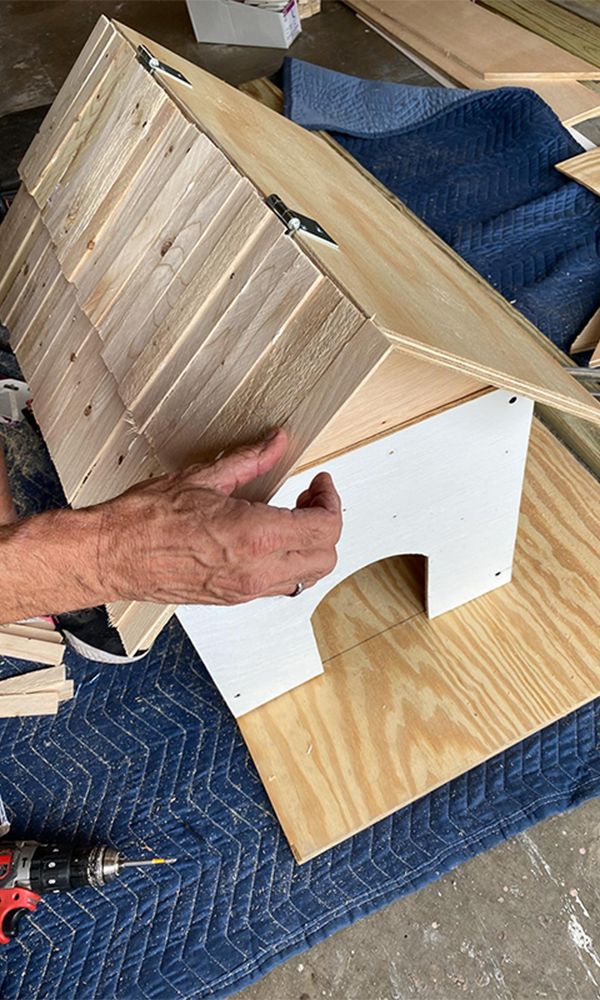
Attach Triangles
To begin the roofline, attach the two triangles to the front and back of the cat house using 1 5/8″ screws with a screw gun.
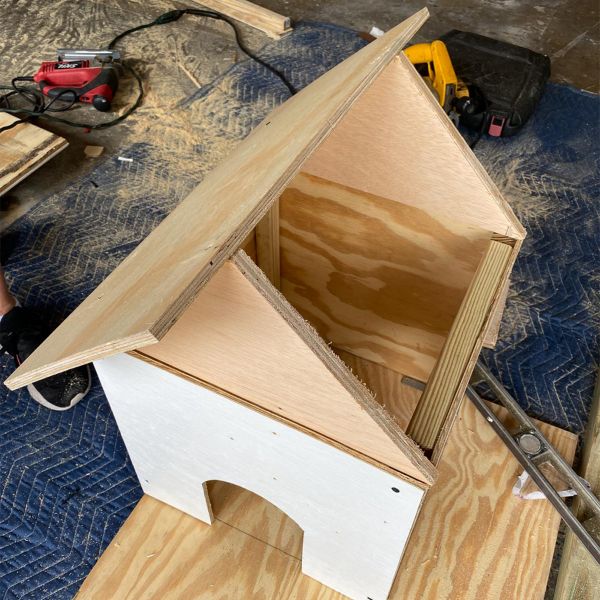
Cut
Cut the 2′ x 2′ 1/2″ piece of plywood in half to form the roof of the cat house. Attach one side of the roof piece with 1 5/8″ deck screws.
Place
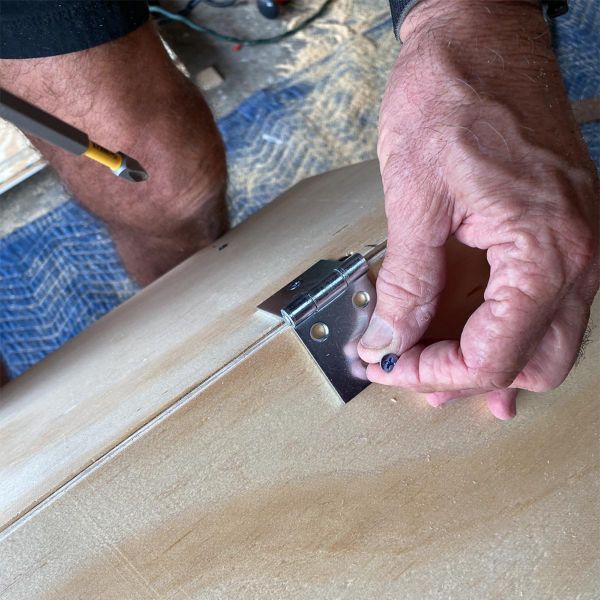
Paint
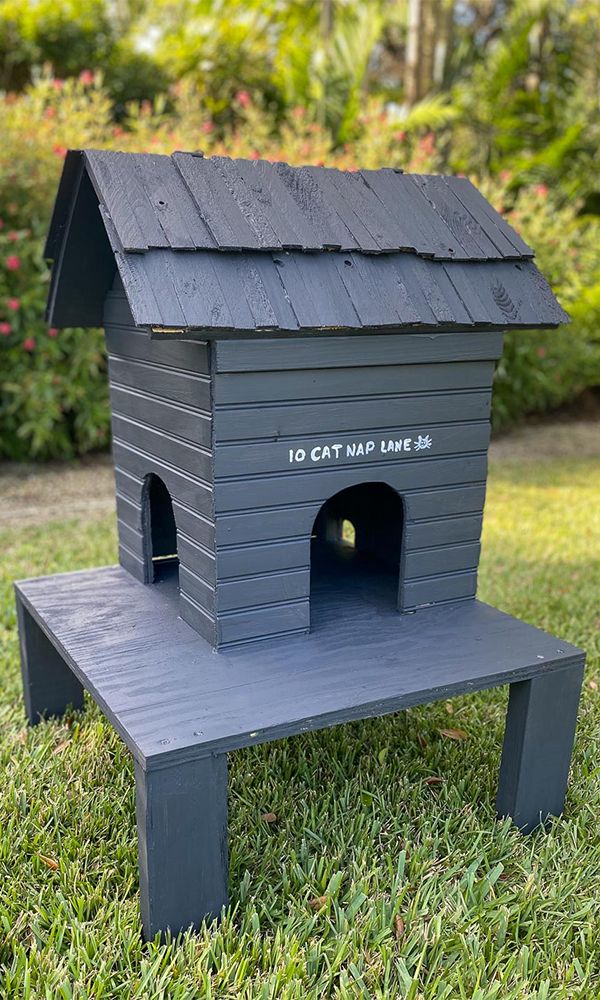
At this point you can stop and paint the finished house. Another option is to add legs to raise the cat shelter off the ground.
To add legs, cut four pieces of the 2″ x 4″ ten inches long. Attach with 1 5/8″ deck screws from the top and use the National Hardware 2 1/2″ Corner Braces underneath.
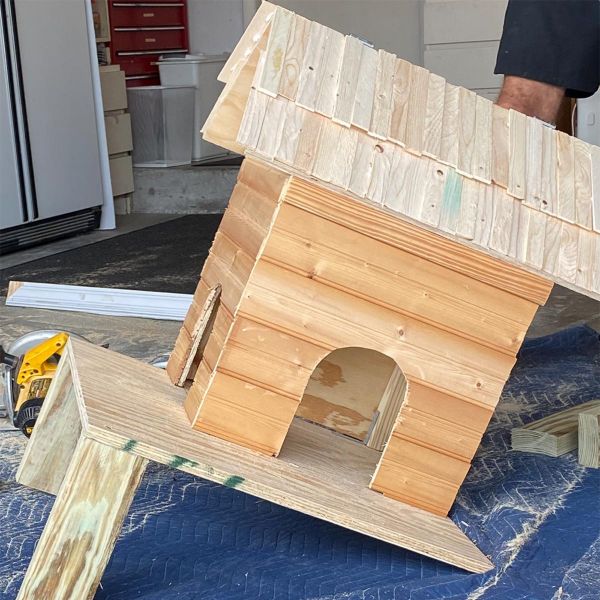
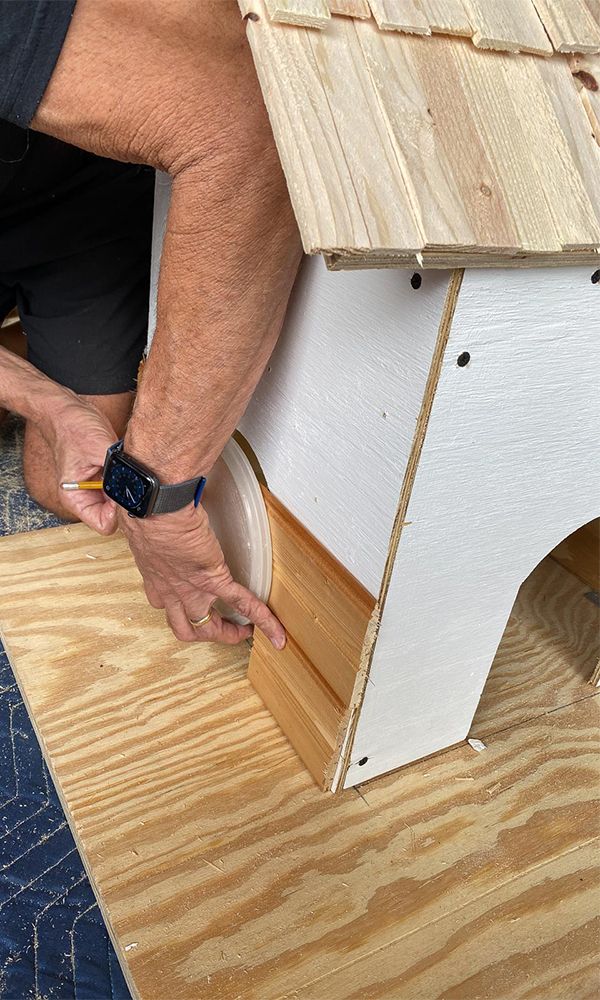
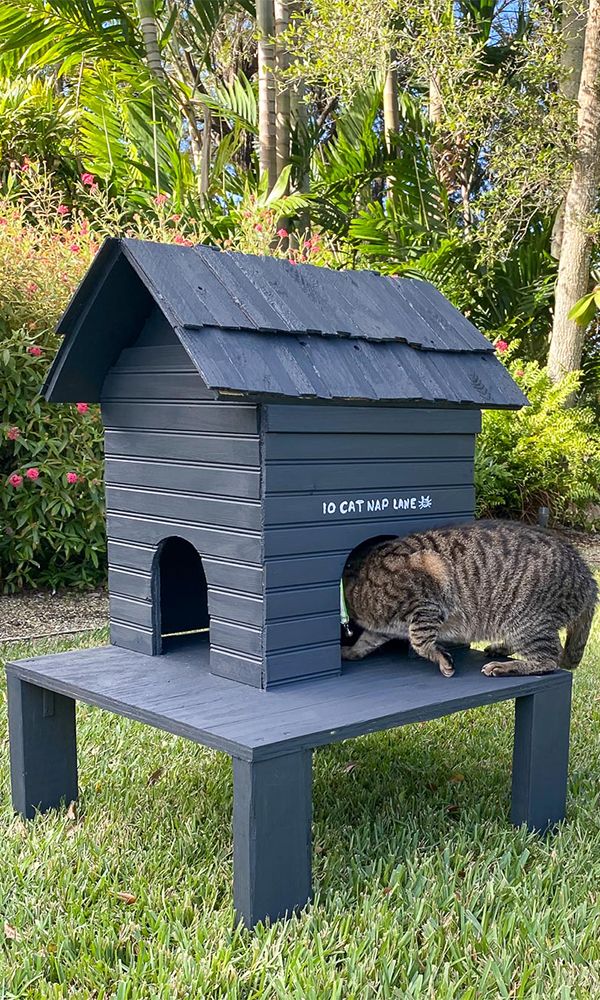
Design
For a designer touch, add shim shingles to the roof and bead board to the house itself with adhesive caulking. Paint or stain the house in any color that you like and add an address to your unique outdoor cat shelter by either hand painting or stenciling a design. It’s time for kitty to enjoy!

Hardware
- Related Product Categories:
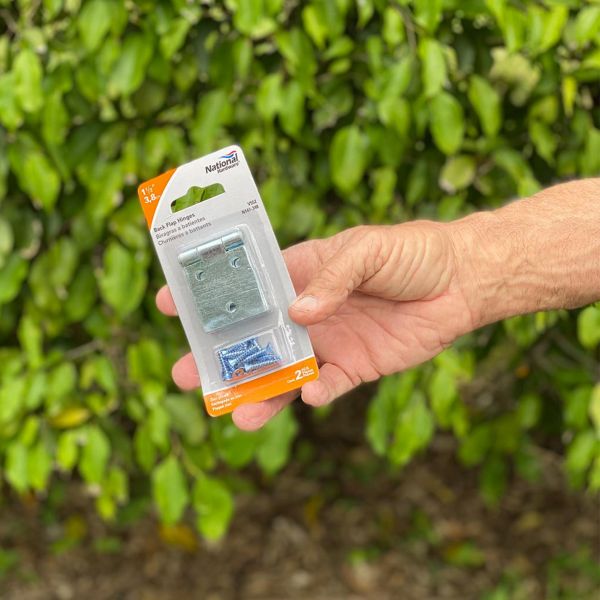
- Specialty Hinges
- Hinges
- Metal Corner Braces & Brackets
- Reinforcement Hardware