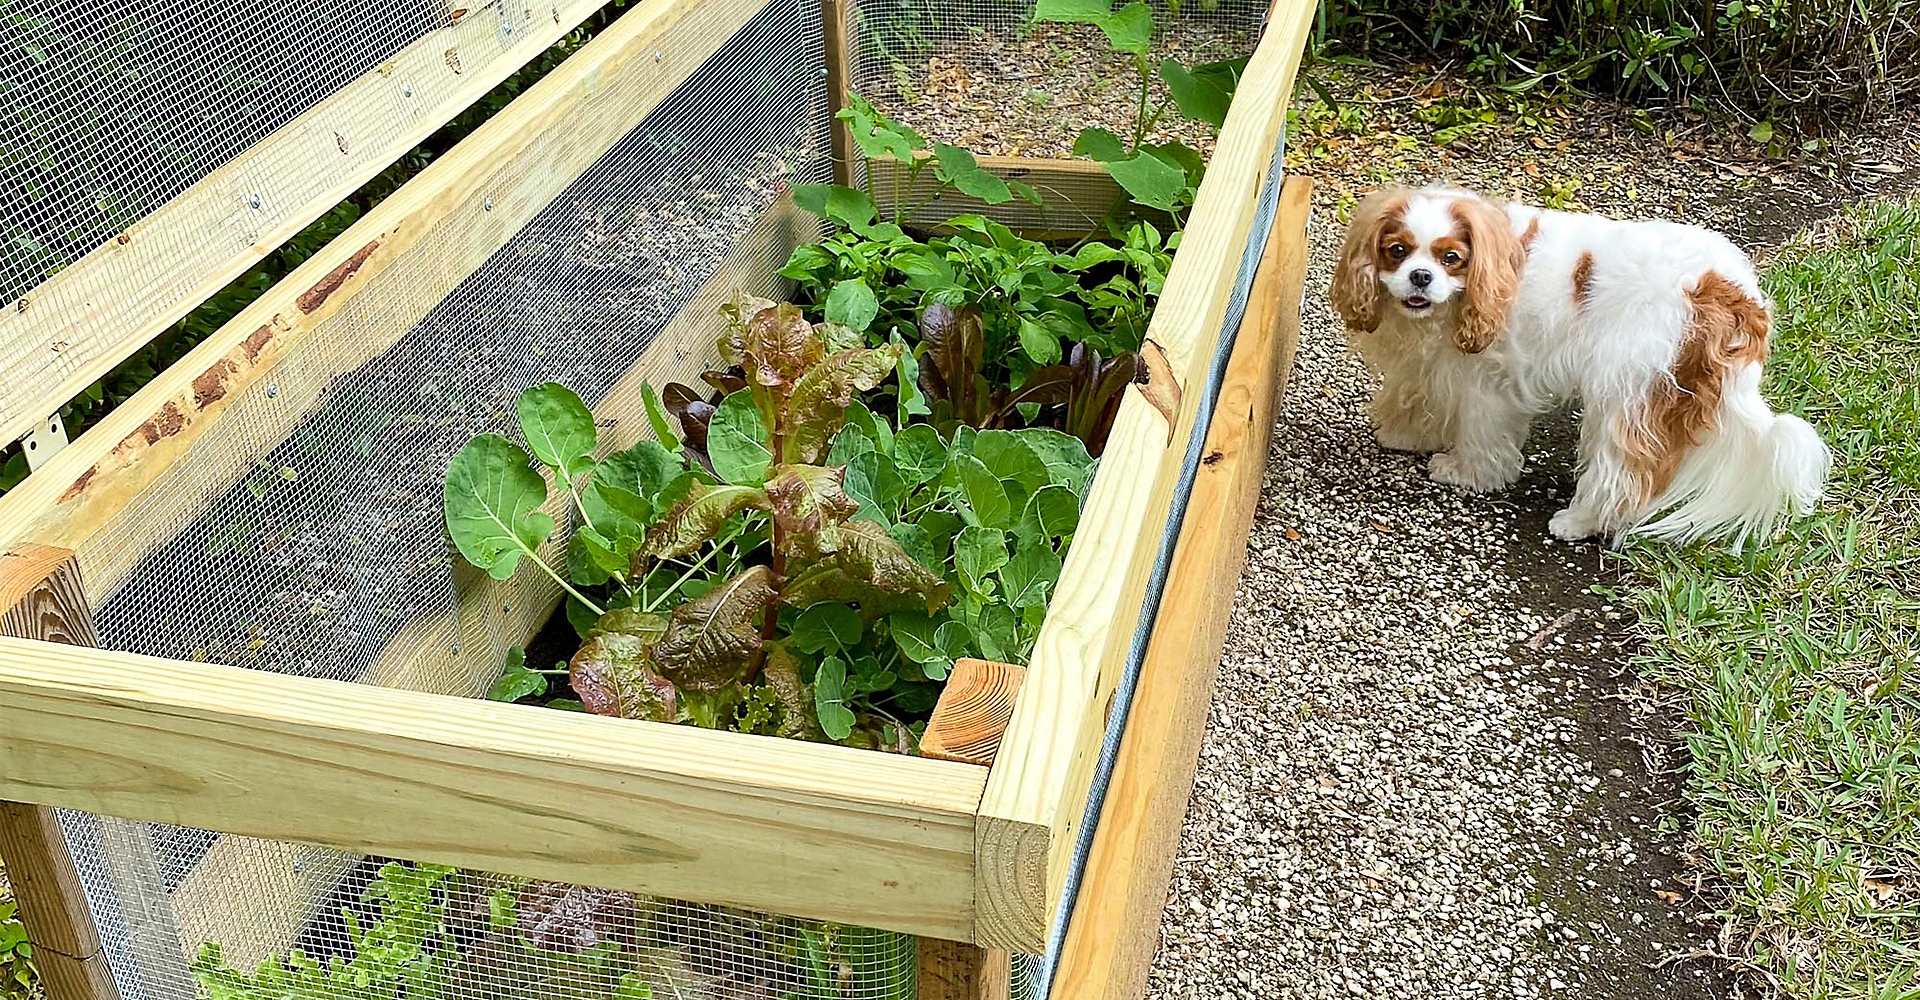

DIY Raised Vegetable Garden Bed
If you’ve ever wanted to grow your own vegetables then this project is for you. Bonus that you’ll be able to keep the plantings safe from any grazing animals that might show up for a snack!
-
Difficulty:Intermediate
-
Team:1-2
-
Time:Over 6 Hours
Tools
-
Box Saw
-
Pencil
-
Ruler
-
Safety Goggles
-
Screw Drivers
-
Screws
-
Tape Measure


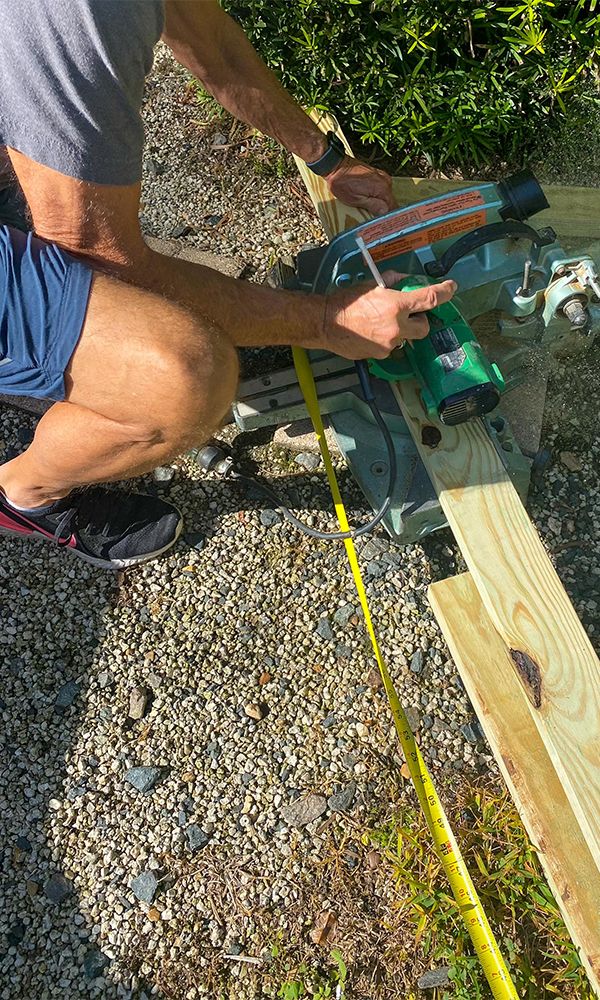
Measure and Cut
Cut the two eight-foot-long 2 x 12"s each into two 6' long pieces with a chop saw.
Screw
Screw together a 6' piece and a 2' piece to make a 90 degree right angle corner. Repeat this process with two more pieces of the same length. These will be used to form the outside pieces for the bottom in building the raised vegetable garden box.
Screw

Cut
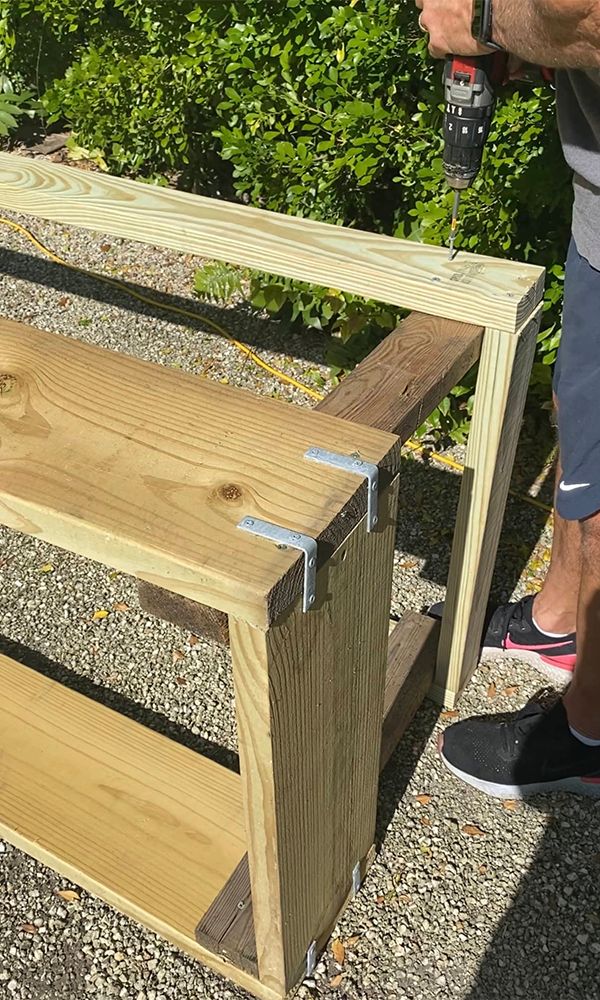
Cut four 2 x 4's to be 2' long. Once cut, attach them to the inside of the 2 x 12's as shown using 2 1/2" deck screws.
Attach
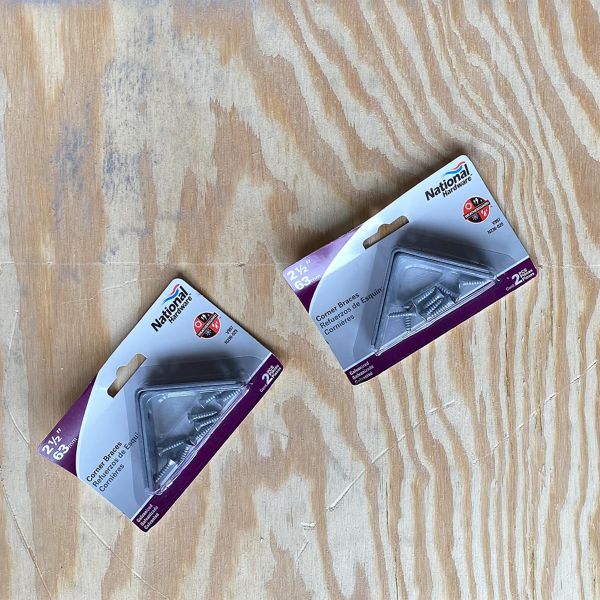
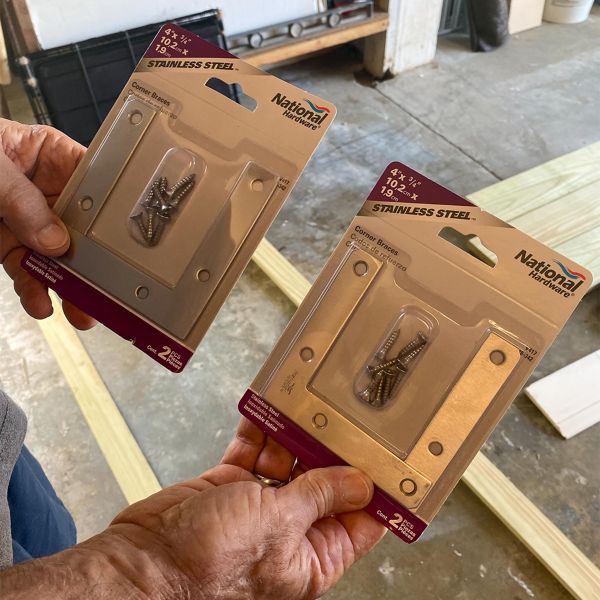
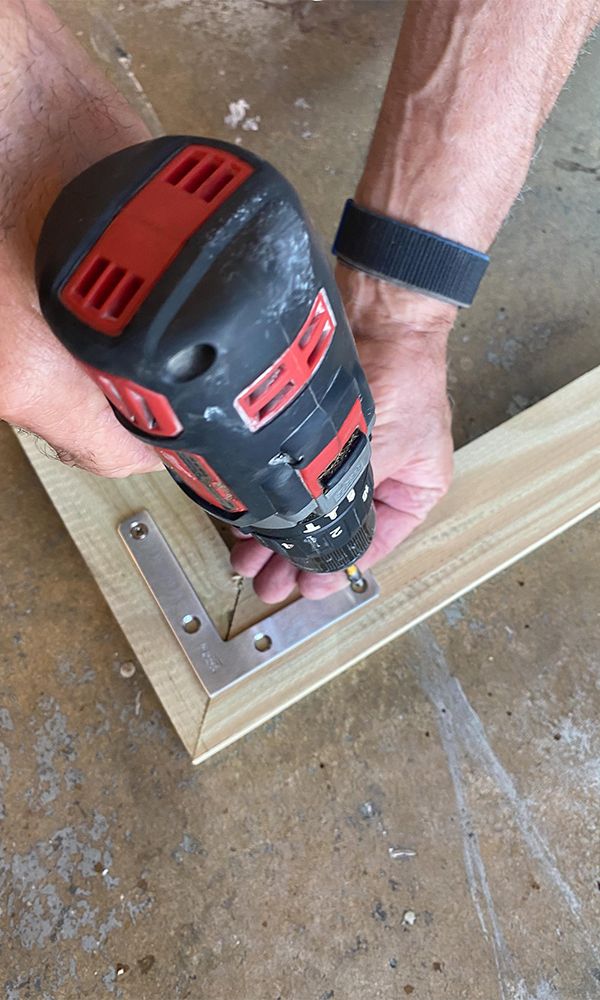
Attach two of the National Hardware 2 1/2″ Corner Braces to each outside corner of the 2 x 12's.
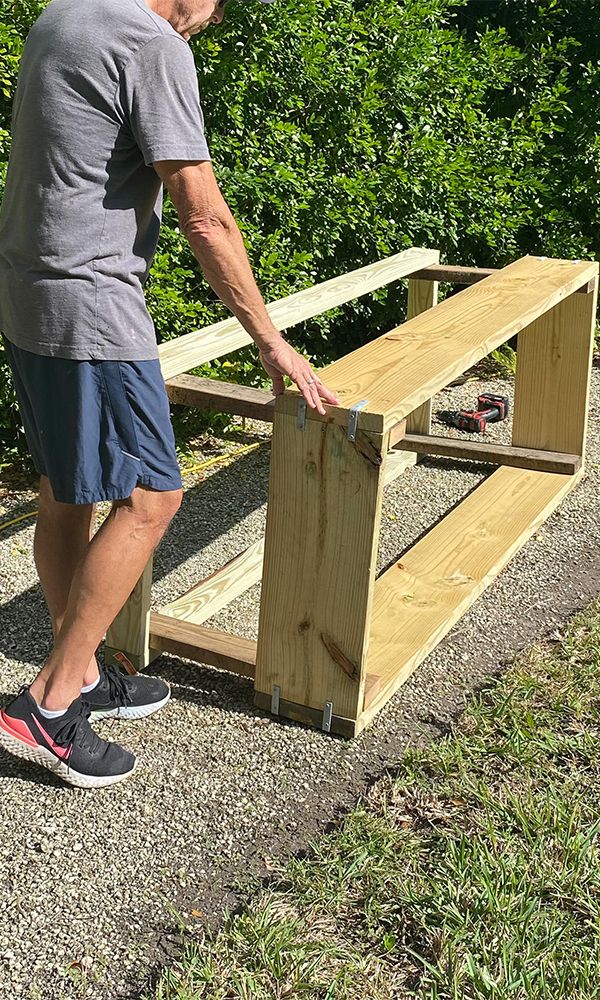
Cut
Cut two of the 8' 2 x 4's to measure 6' long. Attach them to the corner 2 x 4's that you've previously attached to the inside of the box as shown.
Cut
With the box upright, you can create the top screen for the box. Use a chop saw set at 45 degrees to cut two pieces of 1 x 4 to be 6' long each. Next cut two 1 x 4's to be 28 1/2" long each.
Cut
Reset the chop saw to a 90 degree angle and cut one piece of 1 x 4 (or 1 x 6) to measure 23 1/4" long.
Attach
Place the 1 x 4's that you've previously cut on the ground and form a frame to make the rectangular top cover. Take the 23 1/4" piece and attach it in the center of the top for extra support. Using six of the National Hardware 3" (or 2") Flat Corner Braces attach the corners and the center bar support together as shown.
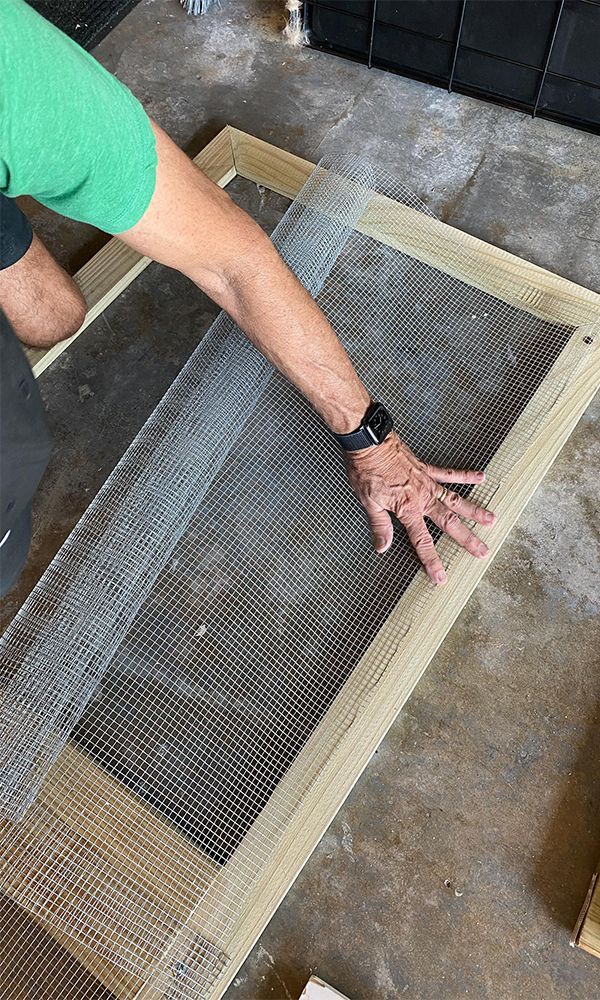
Attach
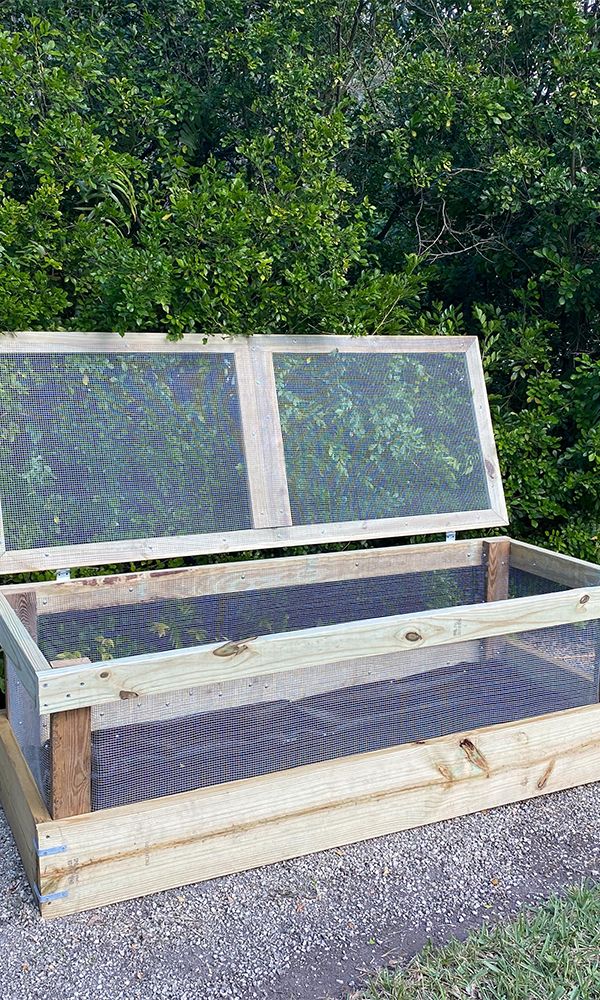
Turn the top over. Begin to attach the mesh metal screen to one side using tech screws. Cut off the excess screening with metal snips. Continue to attach the screen until the top is covered.

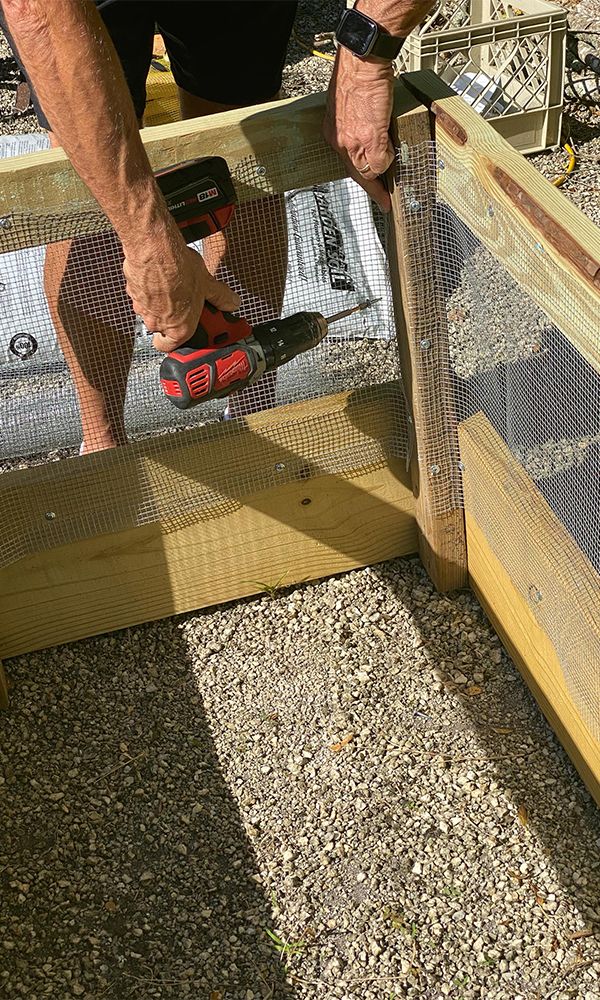
Cut and Attach
Cut then attach pieces of the screening measuring 18" to the insides of the box using tech screws.
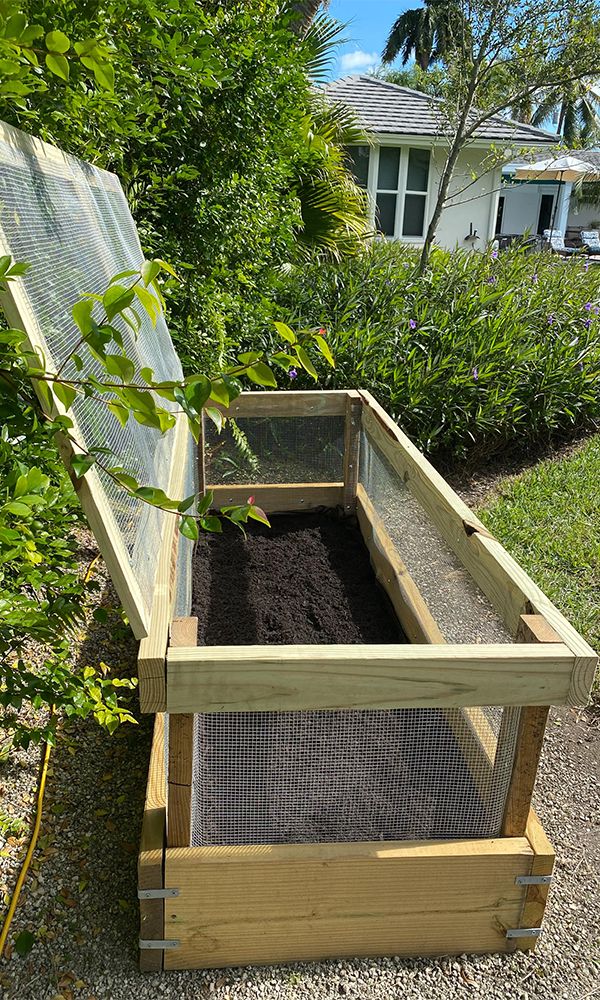
Attach
Complete!
Hardware
- Related Product Categories:
- Metal Corner Braces & Brackets
- Reinforcement Hardware
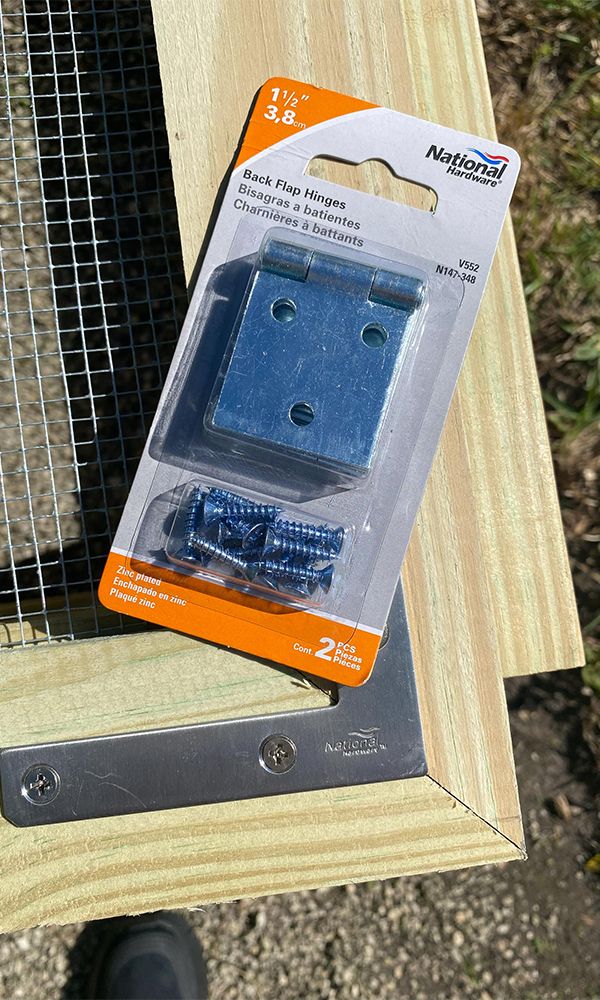
- Specialty Hinges
- Hinges