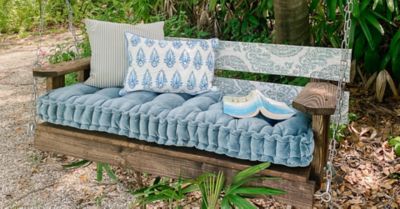

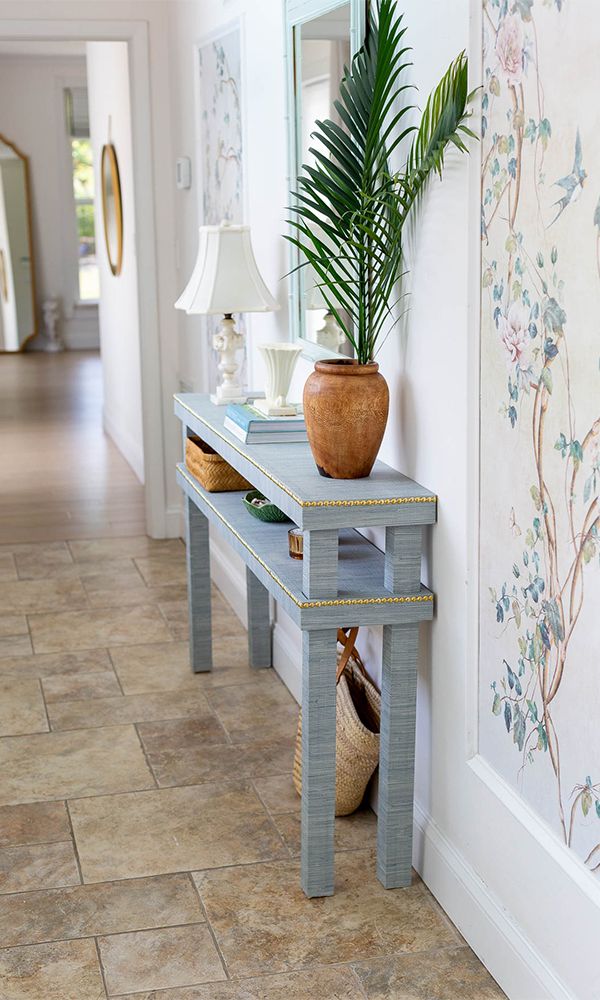
DIY Modern Coastal Style Console Table
A console table is a versatile piece of furniture that can be used in a hallway or foyer or behind a sofa. In this post you’ll learn how to build a coastal style grasscloth covered console table to suit your own space!
-
Difficulty:Intermediate
-
Team:1
-
Time:Over 6 Hours
Tools
-
Safety Goggles
-
Screw Drivers
-
Screws


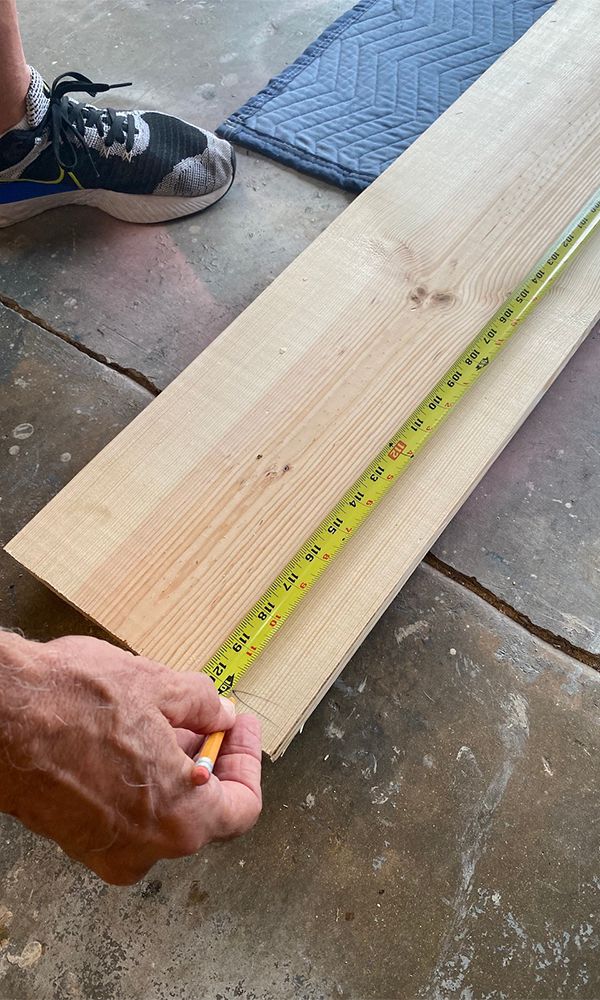
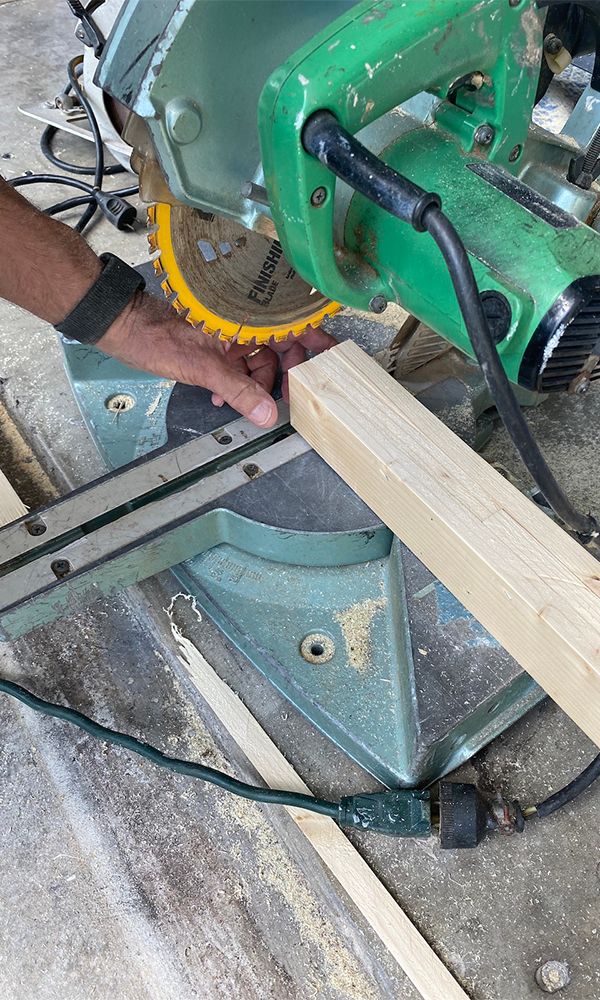
Measure and Cut
Measure and cut the 10’ long 2 x 10’ into two pieces measuring 5′ long each for the two shelves of the console table.
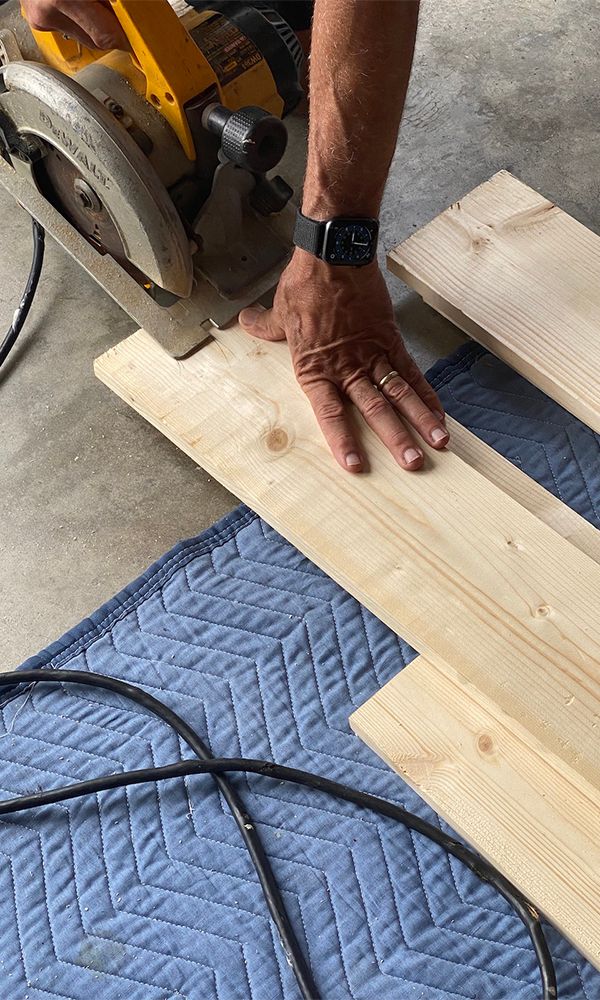
Cut
Cut two 2 1/4″ strips from one of the 1 x 6 pieces. Repeat this process with one more 1 x 6 to create a total of four strips total. These strips will be used to wrap the shelf edges that you’ve previously cut. Save the leftover strips to use in step 6.
Cut
Cut the two 1 x 6 pieces in half lengthwise, giving you four 8′ long pieces measuring 2 1/4″ wide that will be used for the table legs.
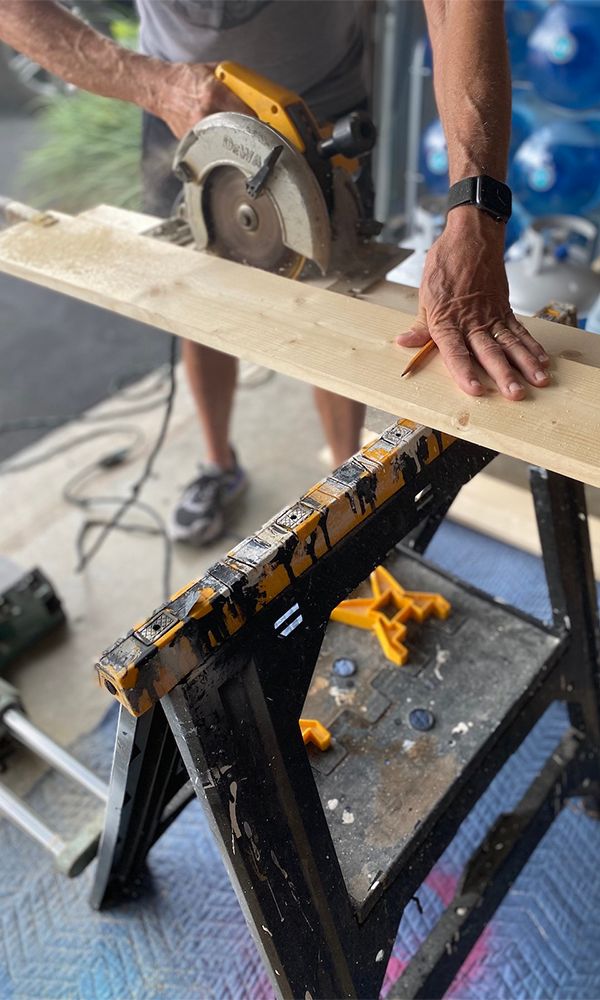
Cut
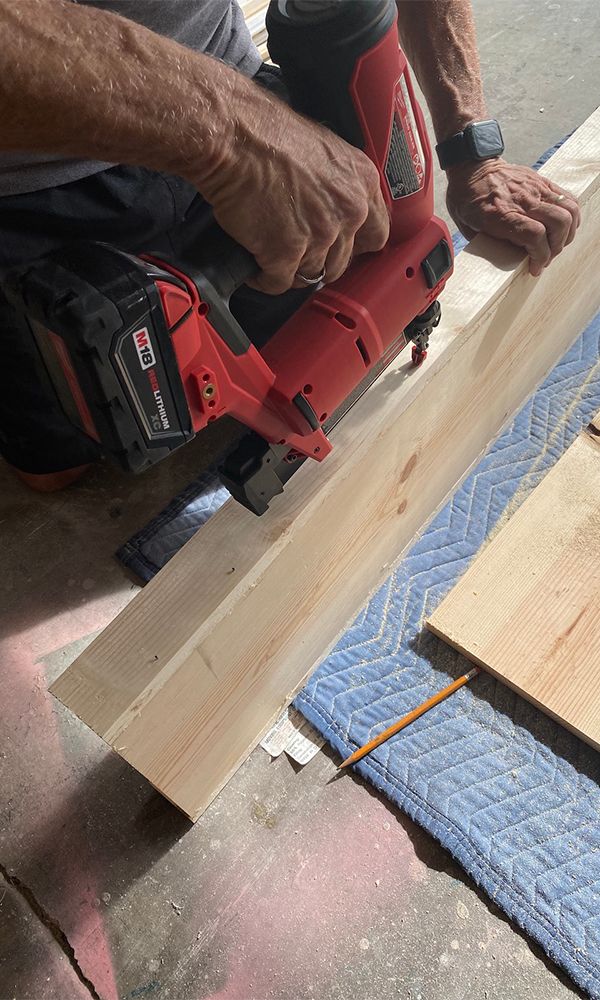
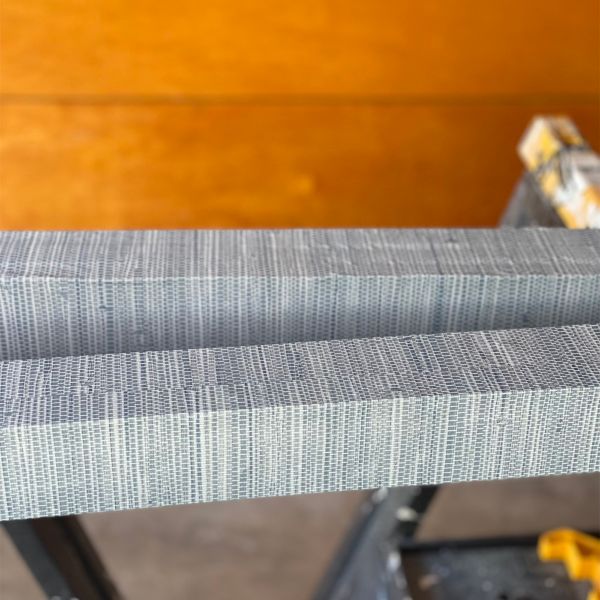
You will now be cutting for the edges of the top shelf. Take two of the 2 1/4″ pieces and attach them with a nail gun to the edges of one of the 1 x 10 shelves, cutting them lengthwise to fit. This will create a wrapped edge on the shelf. Do this for the top shelf only. The bottom shelf will be notched for the leg insertion (see step # 8) first and then wrapped in this process afterward.
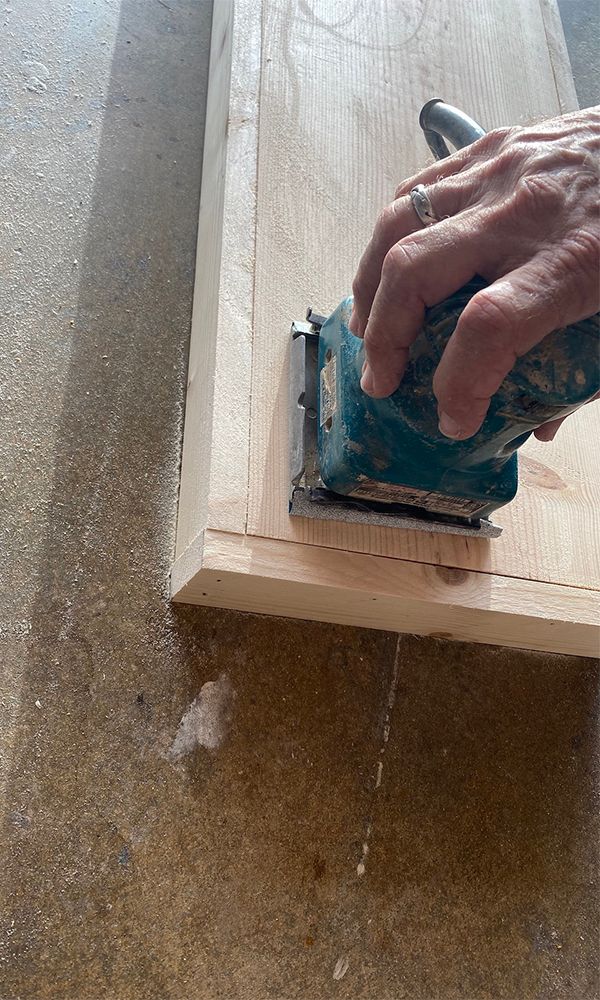
Sand
Palm sand the edges of the shelf and wipe it down with a tack cloth.
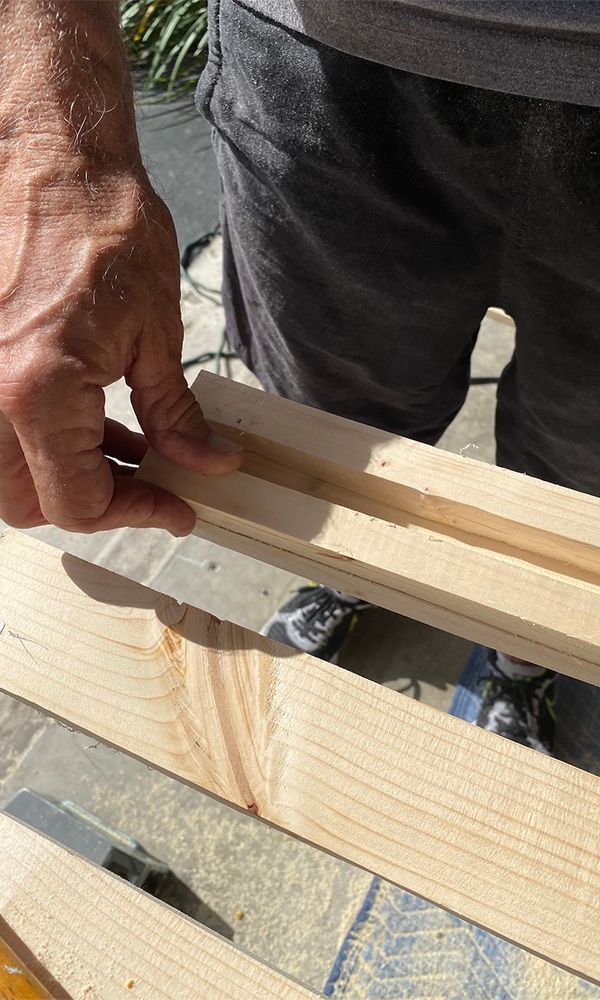
Assemble
Using the 3/ 4″ pieces left from the cutting in step 2, place them on top of a 2 1/2″ piece as shown. Next take an additional 2 1/4″ piece and place on top of this (as shown) to sandwich the pieces together. You’ll be making square legs that will measure 2 1/4″ in diameter. Use a nail gun to attach and repeat this process to make 4 table legs.
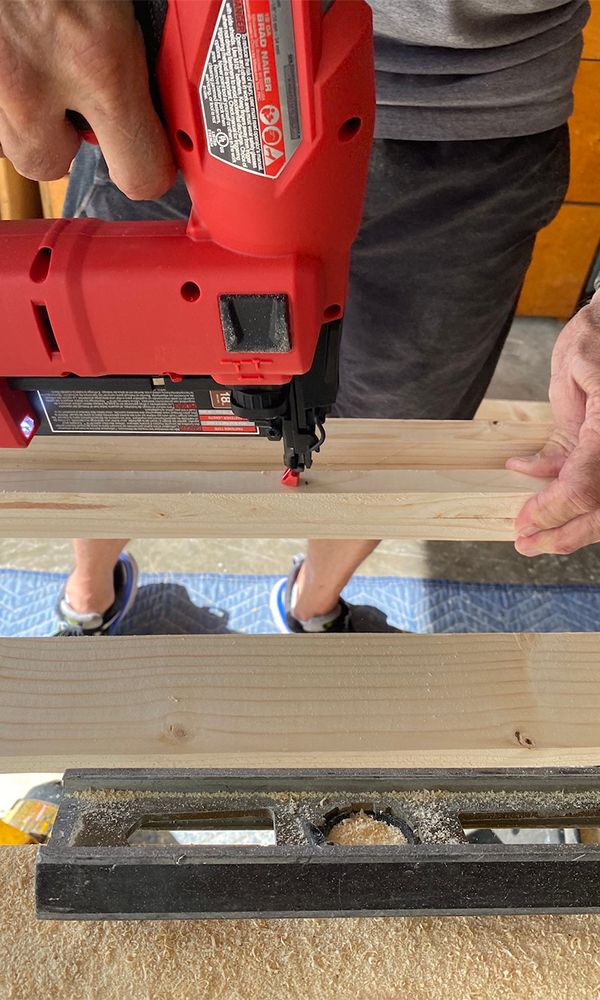
Trim
Measure and mark the locations for the attachment of the planks, leaving a four inch space between planks.
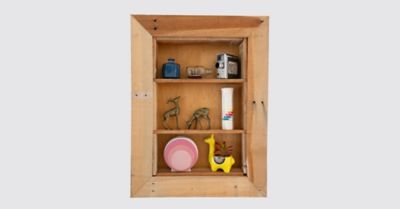
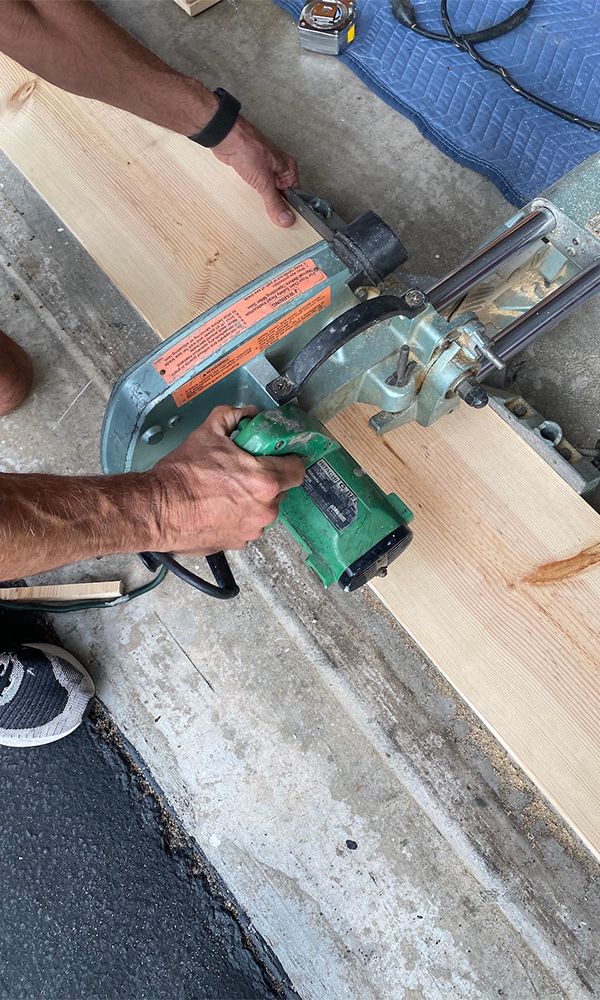
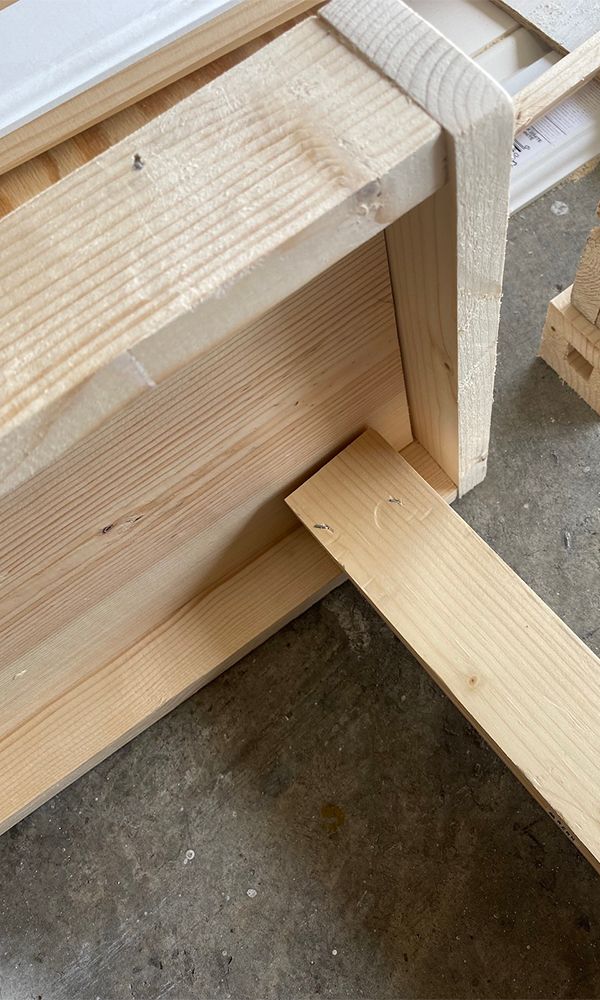
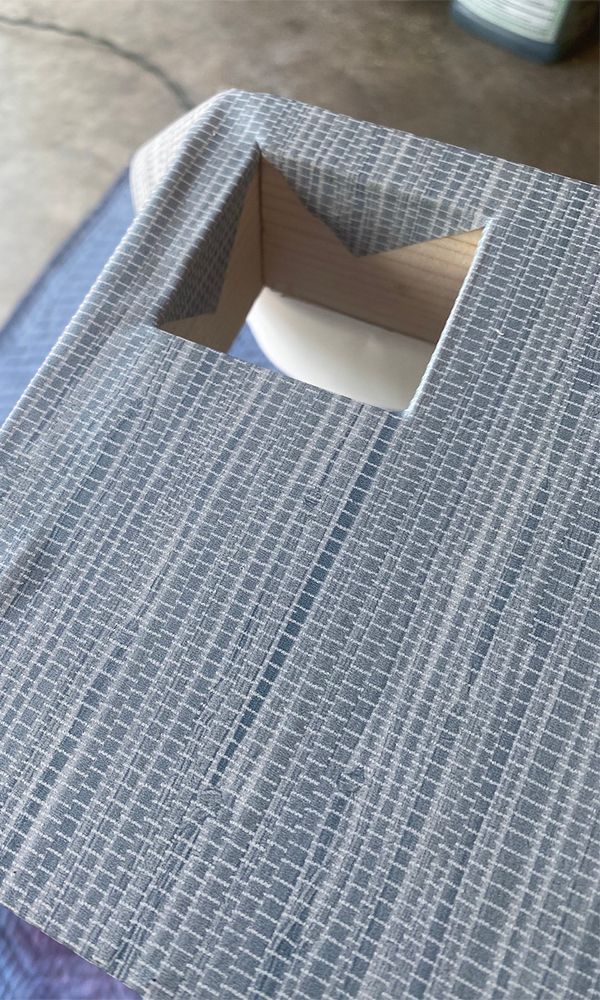
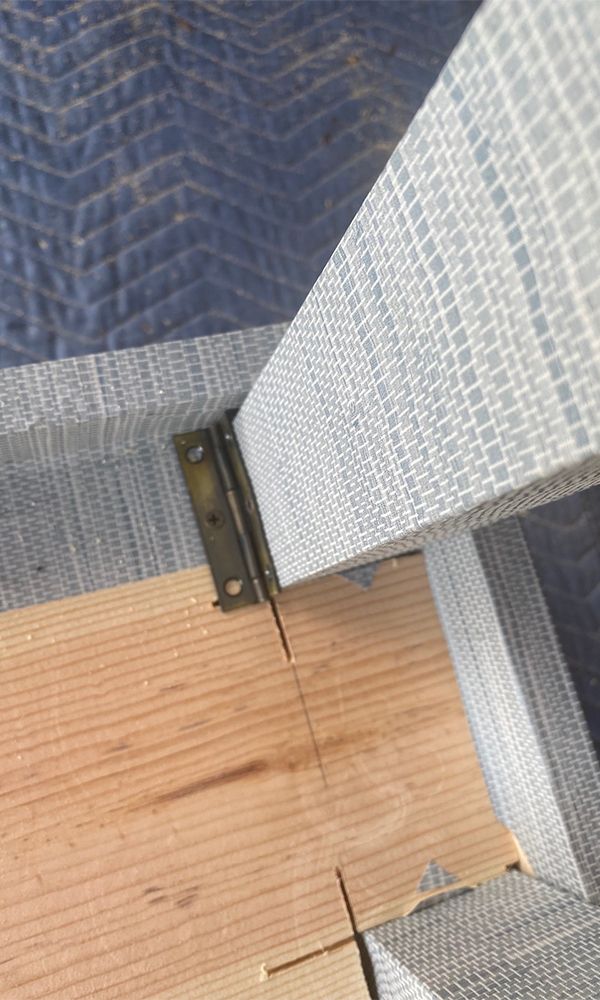
Notch
In this photo you’ll see the construction of the four legs and the upper shelf. The bottom shelf will be notched at all four corners to allow for the legs to slide through. Use a circular saw to notch each corner to accommodate the legs. Each opening for the legs will measure 2 1/4″ square.
Below you see the opening (notching) for the table legs on the bottom shelf. Once the bottom shelf was wrapped in wood as in step #4, the wallpaper was added.
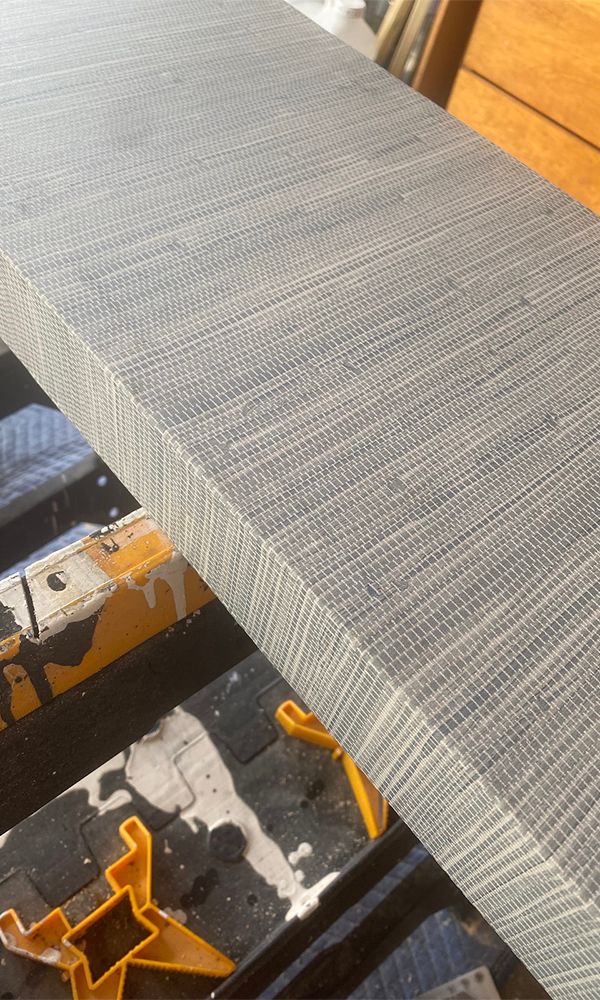
Wrap
Attach
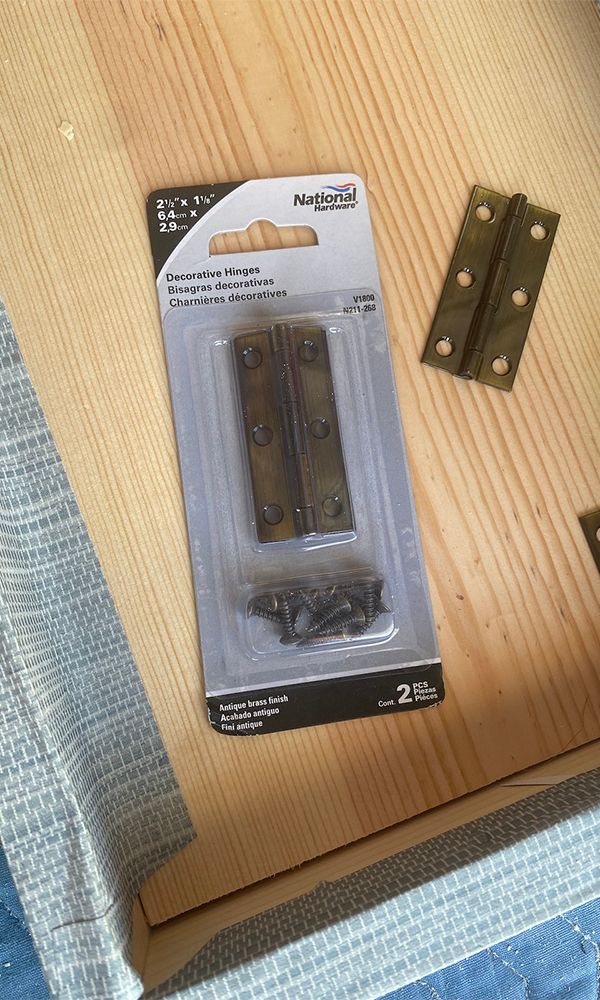
Attach each of the four legs to the top shelf from underneath with a screw gun, using the National Hardware Decorative Hinges. For extra stability, attach National Hardware 2 1/2″ Corner Braces (optional) to the underside of the table as well.
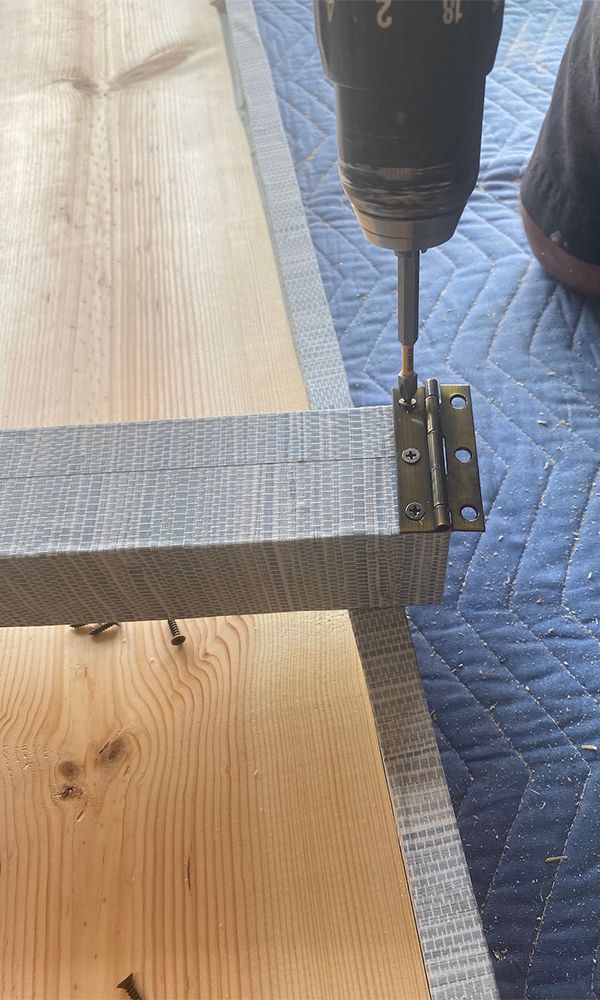
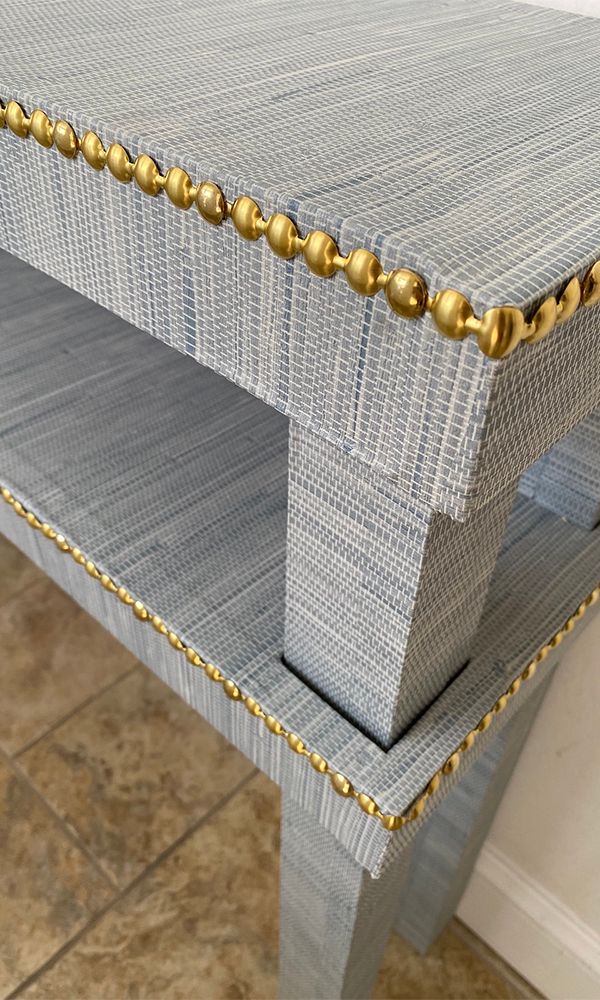
Attach and Secure
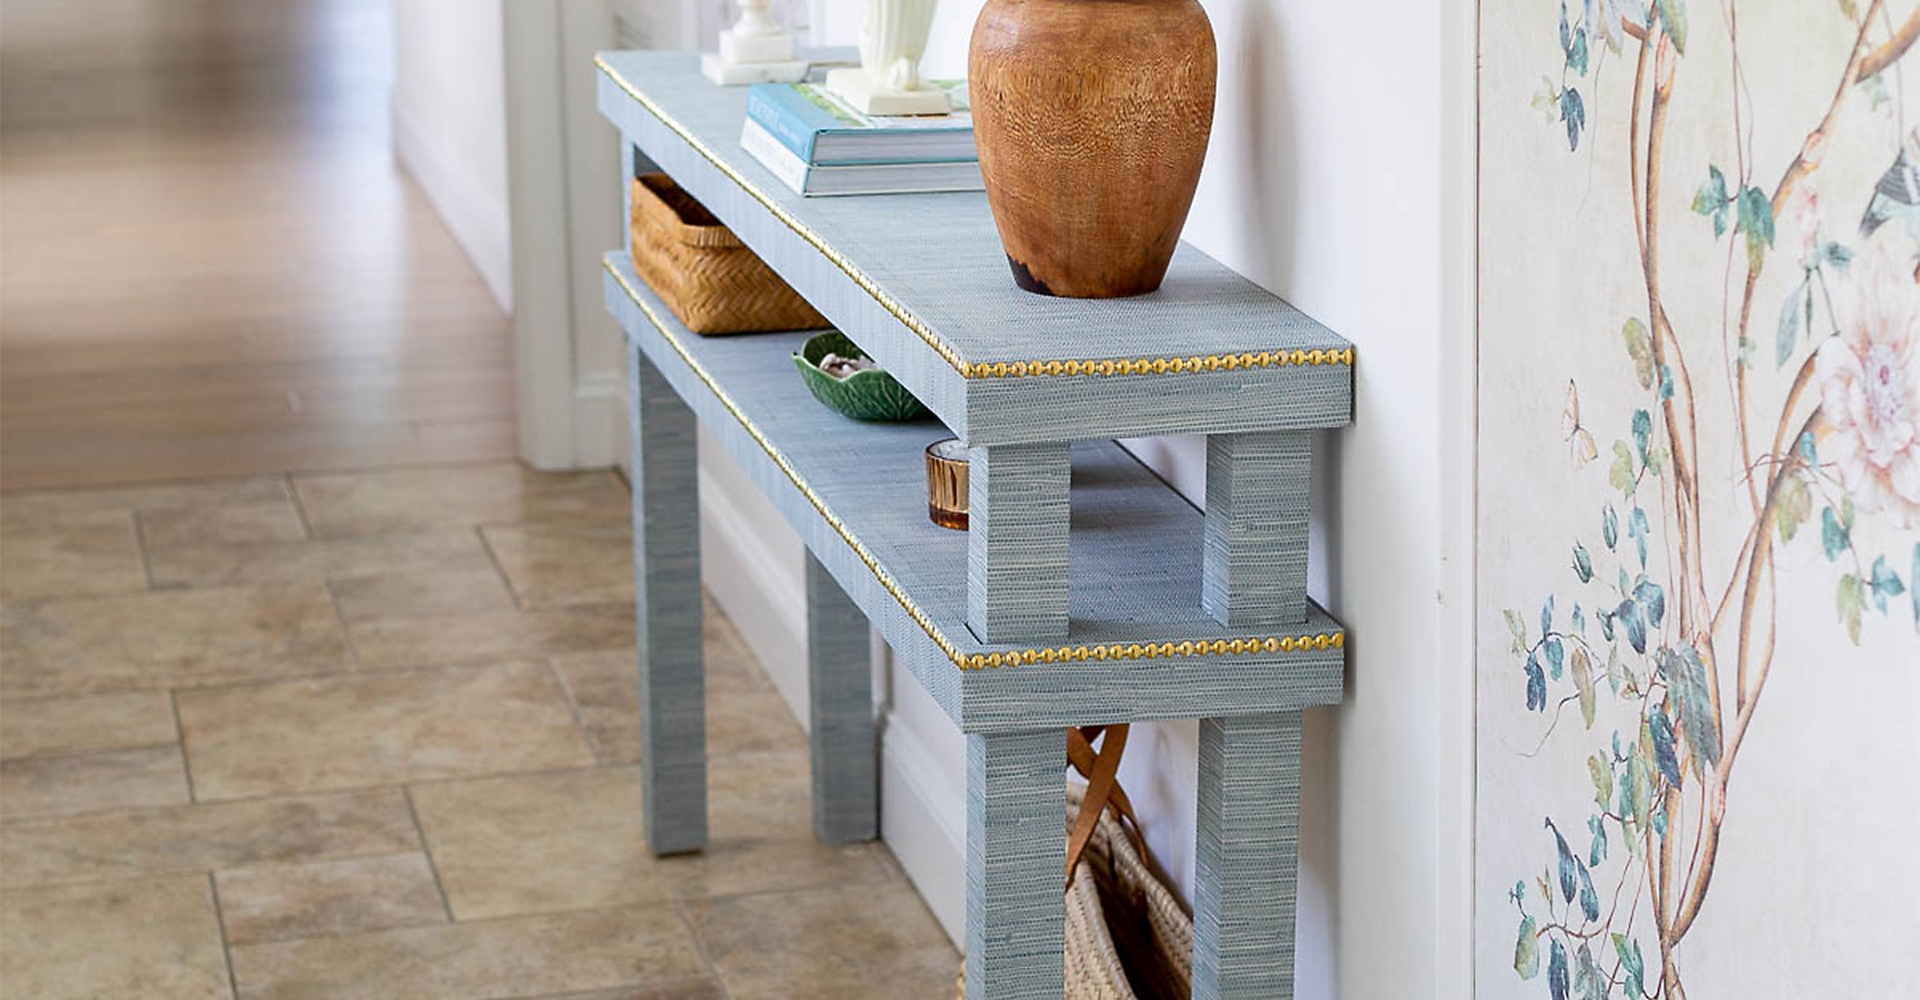
Once you’ve attached the four legs to the top shelf, slide the bottom shelf over the four legs inside of the notched areas. Allow the space between the shelves to be about six inches. Then attach and secure the bottom shelf from the underside with one of the National Hardware Decorative Hinges in each corner.
Final Touch
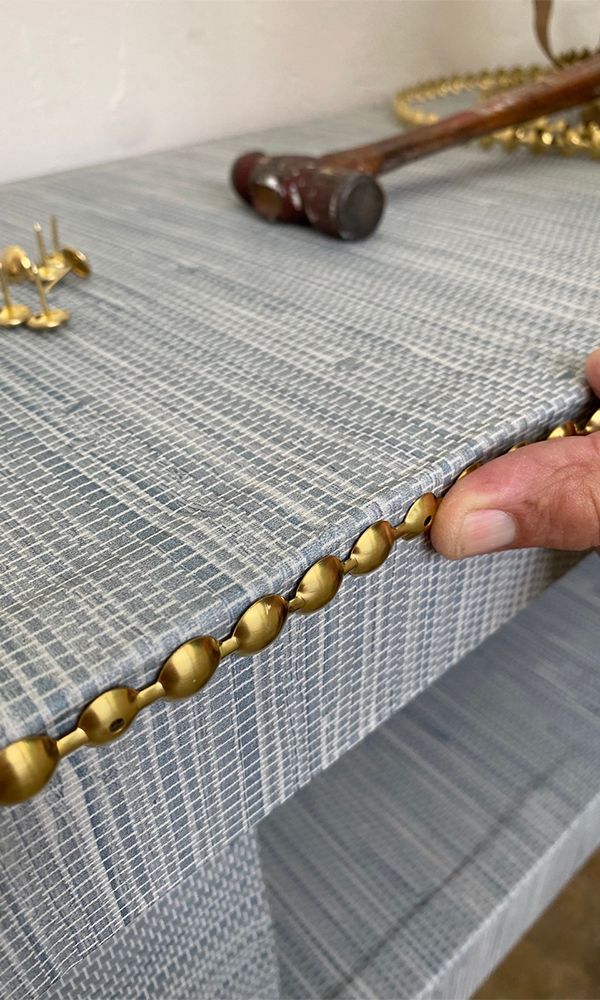
Hardware
- Related Product Categories:
- Decorative Hinges
- Decorative & Craft Hardware
- Metal Corner Braces & Brackets
- Reinforcement Hardware