DIY Keepsake Box
I will walk you through the steps to create an amazing keepsake box perfect for Mother’s Day, Birthday, Anniversary, or any gifting occasion. Let's get out in the shop and make some sawdust, let’s get started!
-
Difficulty:Intermediate
-
Team:1
-
Time:Over 6 Hours
Tools
-
Safety Goggles
-
Screw Drivers
-
Screws
-
Tape Measure


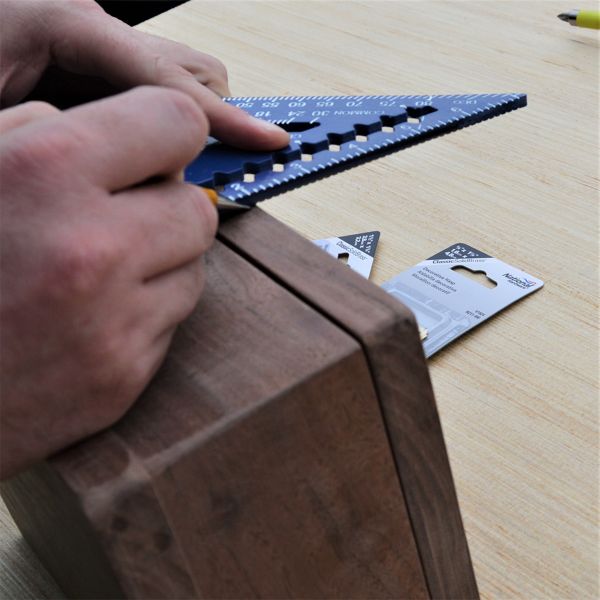
Determine the Design
The first step is to think about the person you are gifting, what is their style, what kind of pieces do they have in their home (if you know). This will help determine your design of the project. Next is determining the size of the box you want to create. For my box I wanted it to be 8” x 6”. Now gather the type of wood you need according to your project! I decided on Walnut (feel free to use Pine or any other type that you may have handy).
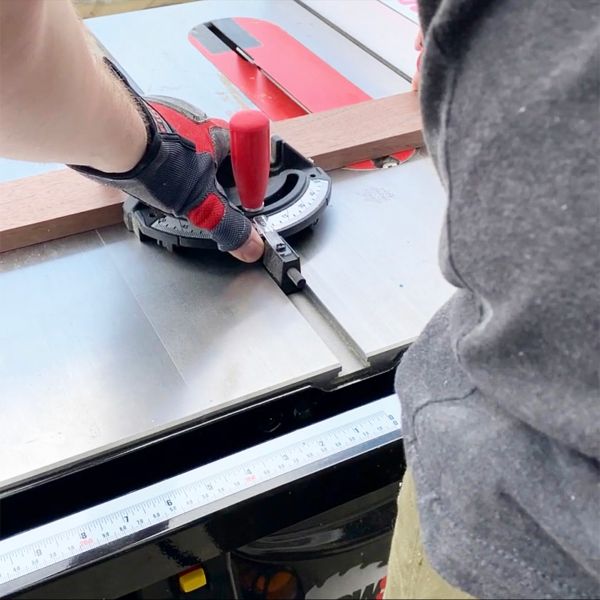
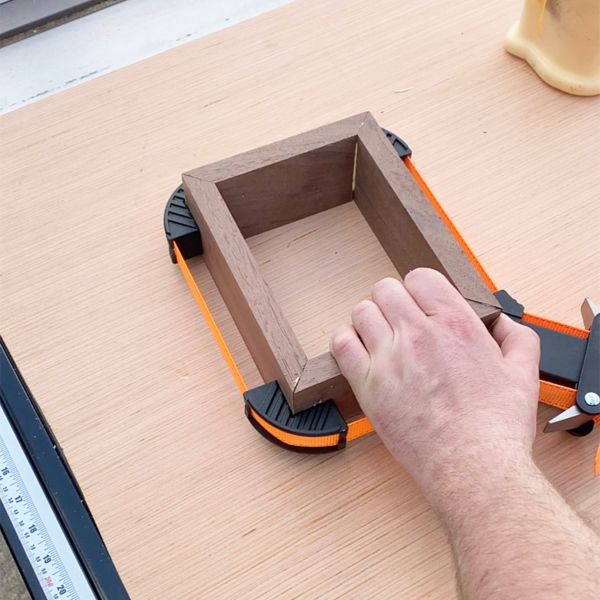
Build the Box
Determine how you want to build your box. There are so many different ways to build a box, feel free to use any you are comfortable with. I decided to make my box using 45 degree miters. Feel free to use butt joints or any other type of box joinery you like. Setting the saw blade to 45 degrees I started my cuts. Moving my saw fence to the proper dimensions to get the 4 pieces of my box made. Always be mindful of the blade when cutting! Always wear proper PPE when woodworking!
Tip! You can also use a miter saw or even a hand saw with the proper jig.
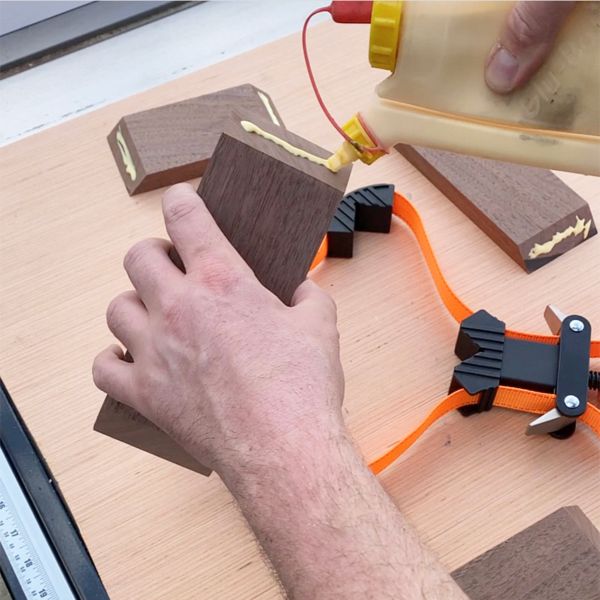
Glue
Design
I wanted to keep the design simple, so I glued a bottom making it ½” bigger than the box. So using the table saw I cut my bottom to size, then glued to the bottom of my box. The lid will be the same size as the box. I loved the clean look making the lid the same size. I decided to add a little flair to the top of my box, with the help from the CNC I carved Samantha’s favorite flower! You can CNC, carve, or paint any design you like if you want to add that special touch. Get creative, even get the kiddos involved!
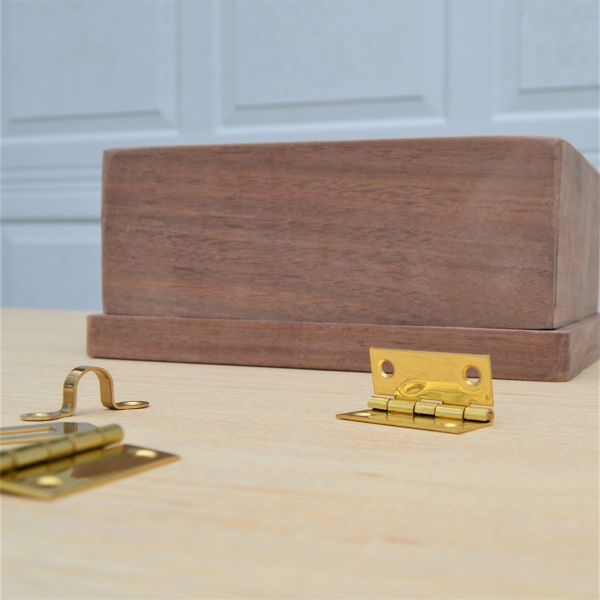
Sand and Assemble
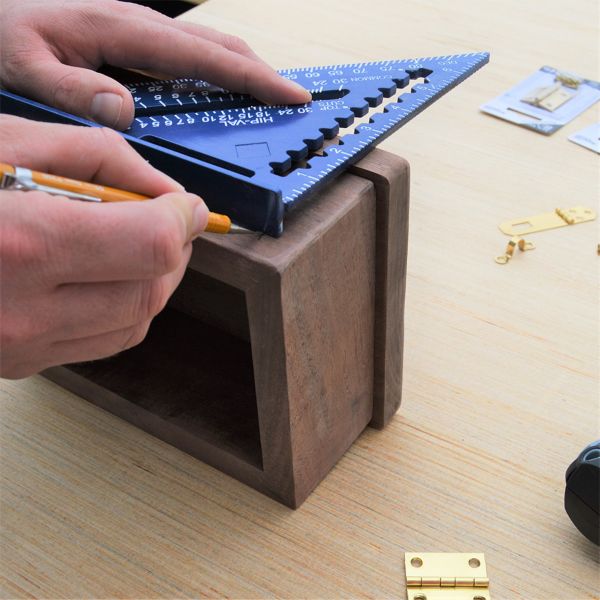
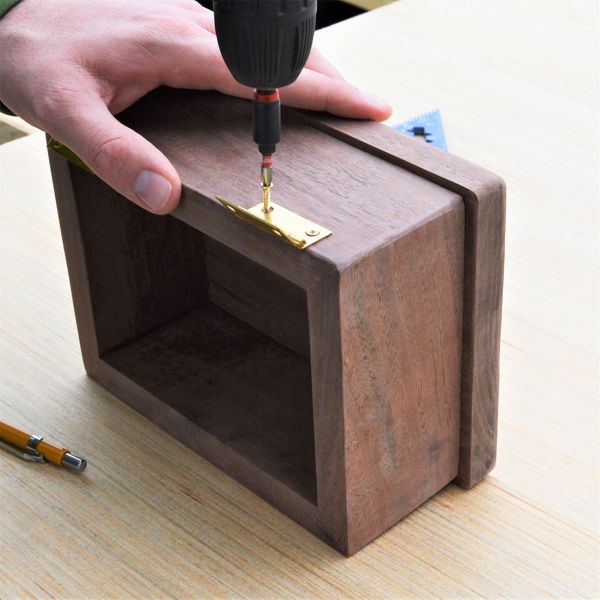
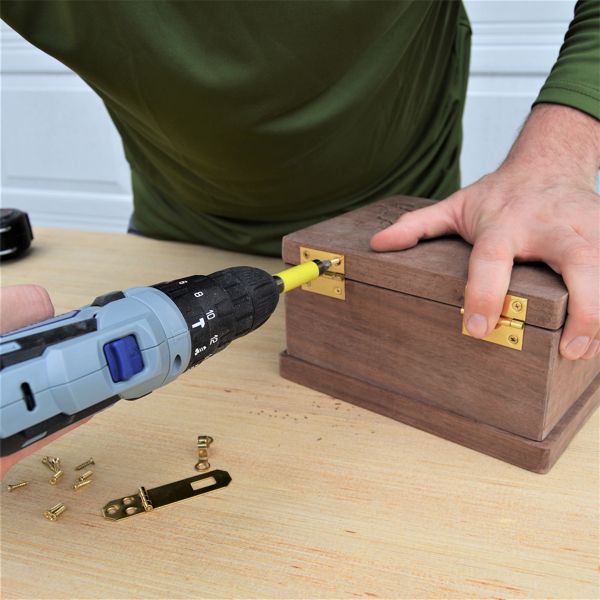
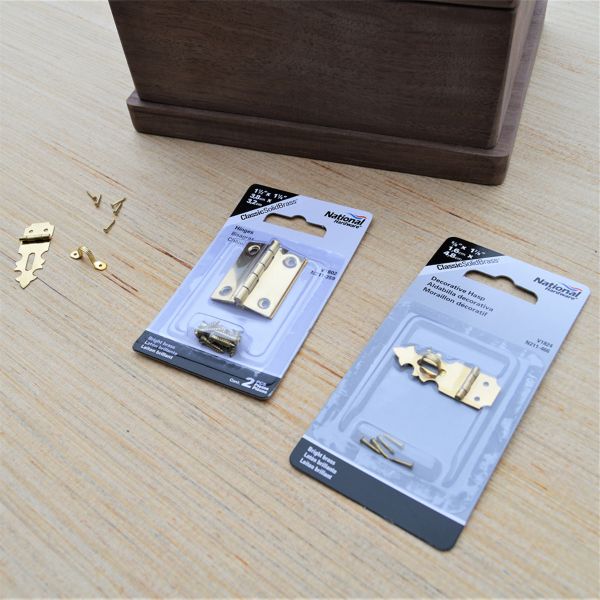
We now have a finished box and a lid. We have allowed the glue to dry and now I would recommend sanding your box to your desired grit. You may go ahead and apply the finish of your choice! Now it is time to add some hardware to our box. I went with National Hardware #N211-359 Brass Hinges and #N211-466 Decorative Hasp. Using your Tape Measure mark where the hinge needs to go. If you are using SoftWoods a screwdriver will work perfectly. Since I am using Walnut I set my drill to a low speed to install the screws. Take your time to keep everything lining up perfectly.
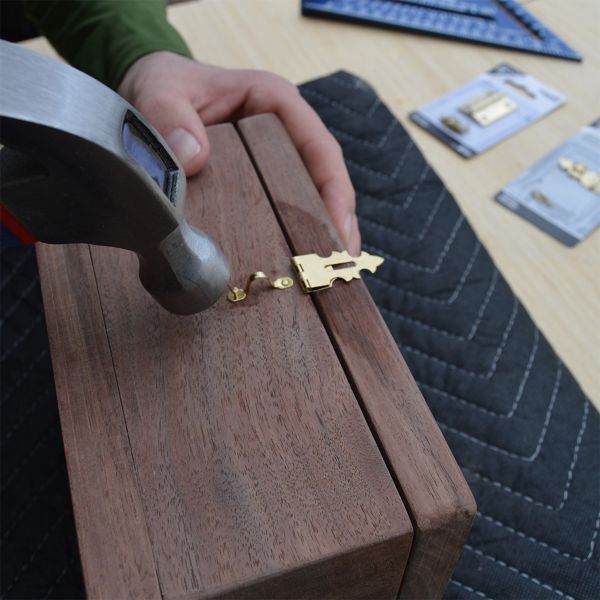
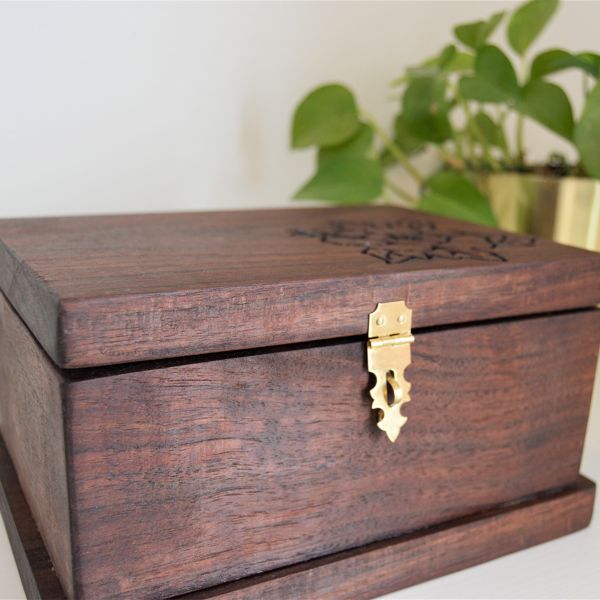
Next you will need to find the center of your lid. Using that center lineup the body of the hasp and install the nails on the lid. Using your hammer make light steady taps so you do not bend the nails. Now the lid is complete, add the hasp onto the box for the opening in the body to slide over. Again using light steady taps to install the nails and you are done.
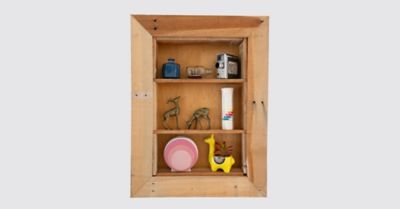
Complete
I hope you have a fun time creating this amazing Keepsake box. What better gift to give that special someone than a handcrafted one with the help of National Hardware. So go out there and have a great time creating and as always Stay Classy!
Hardware
- Related Product Categories:
- Decorative Hinges
- Decorative & Craft Hardware
- Decorative Hasps & Closures